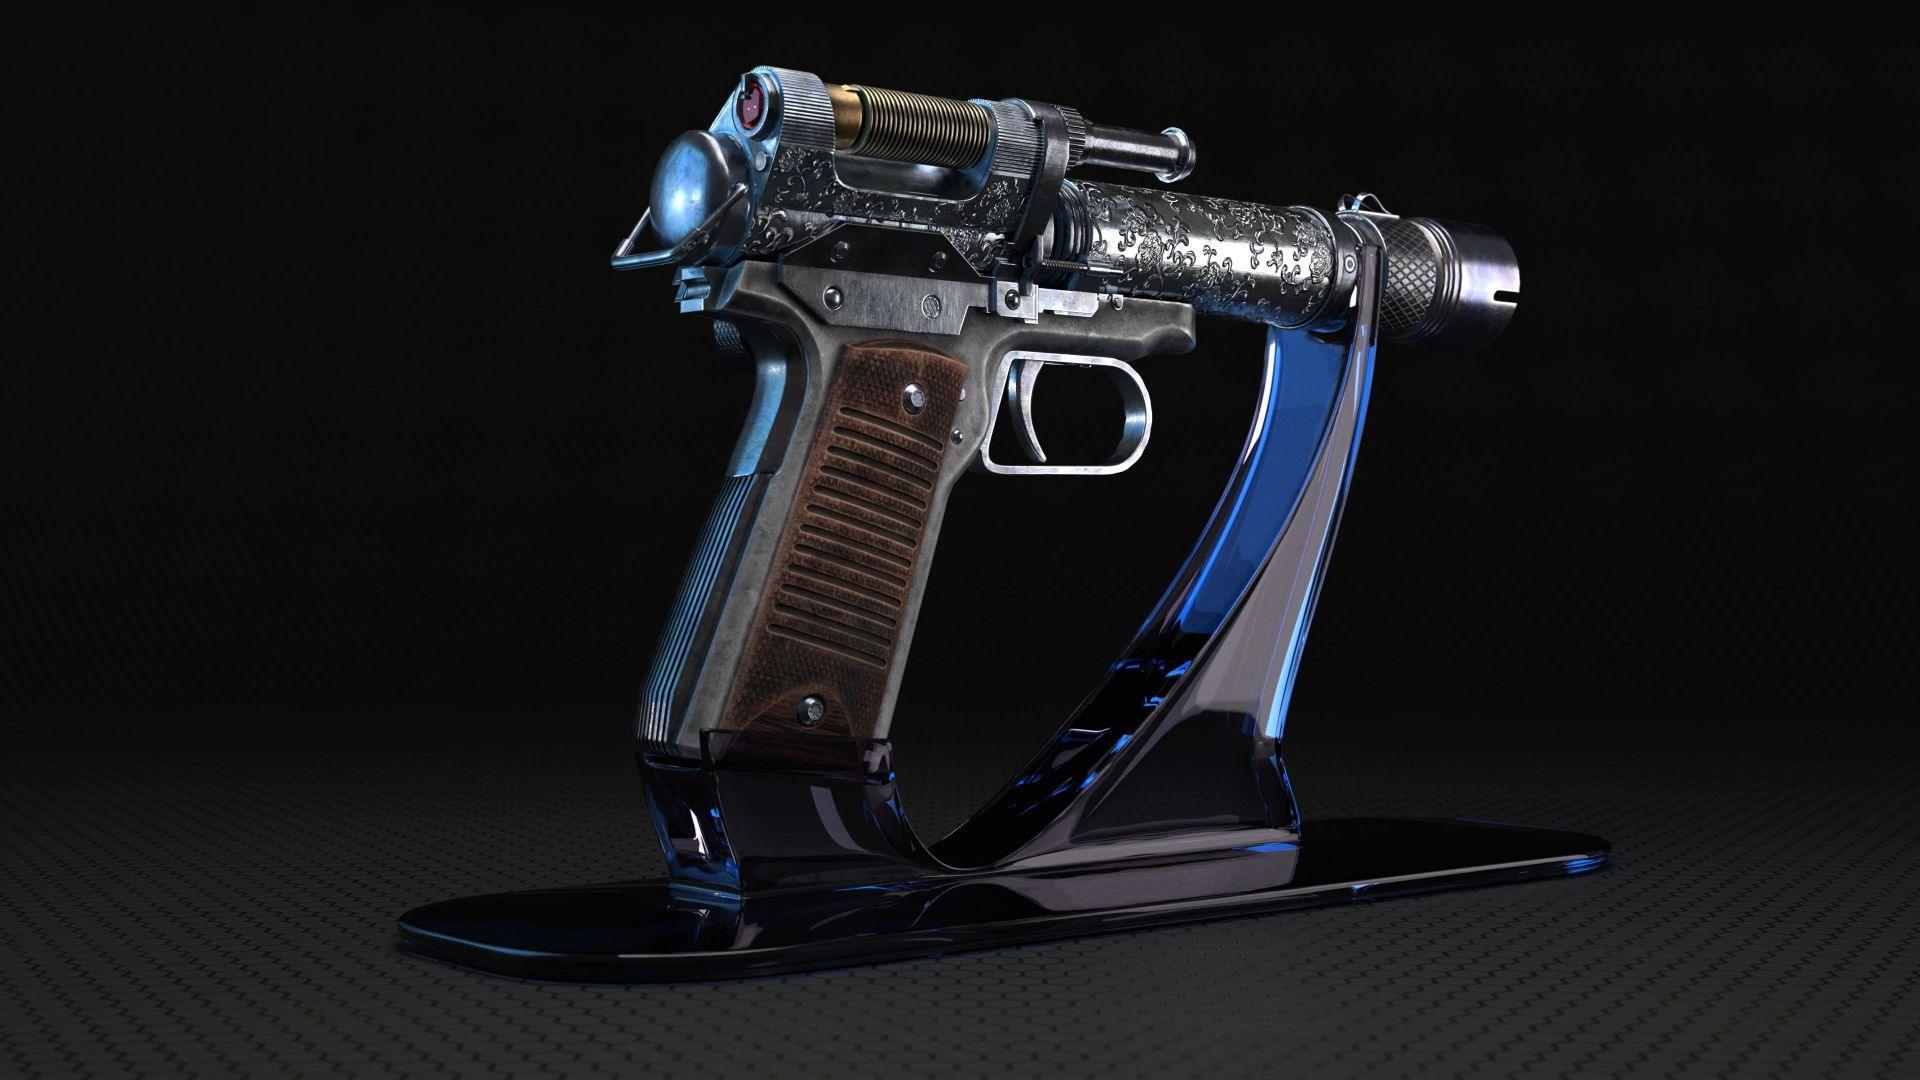
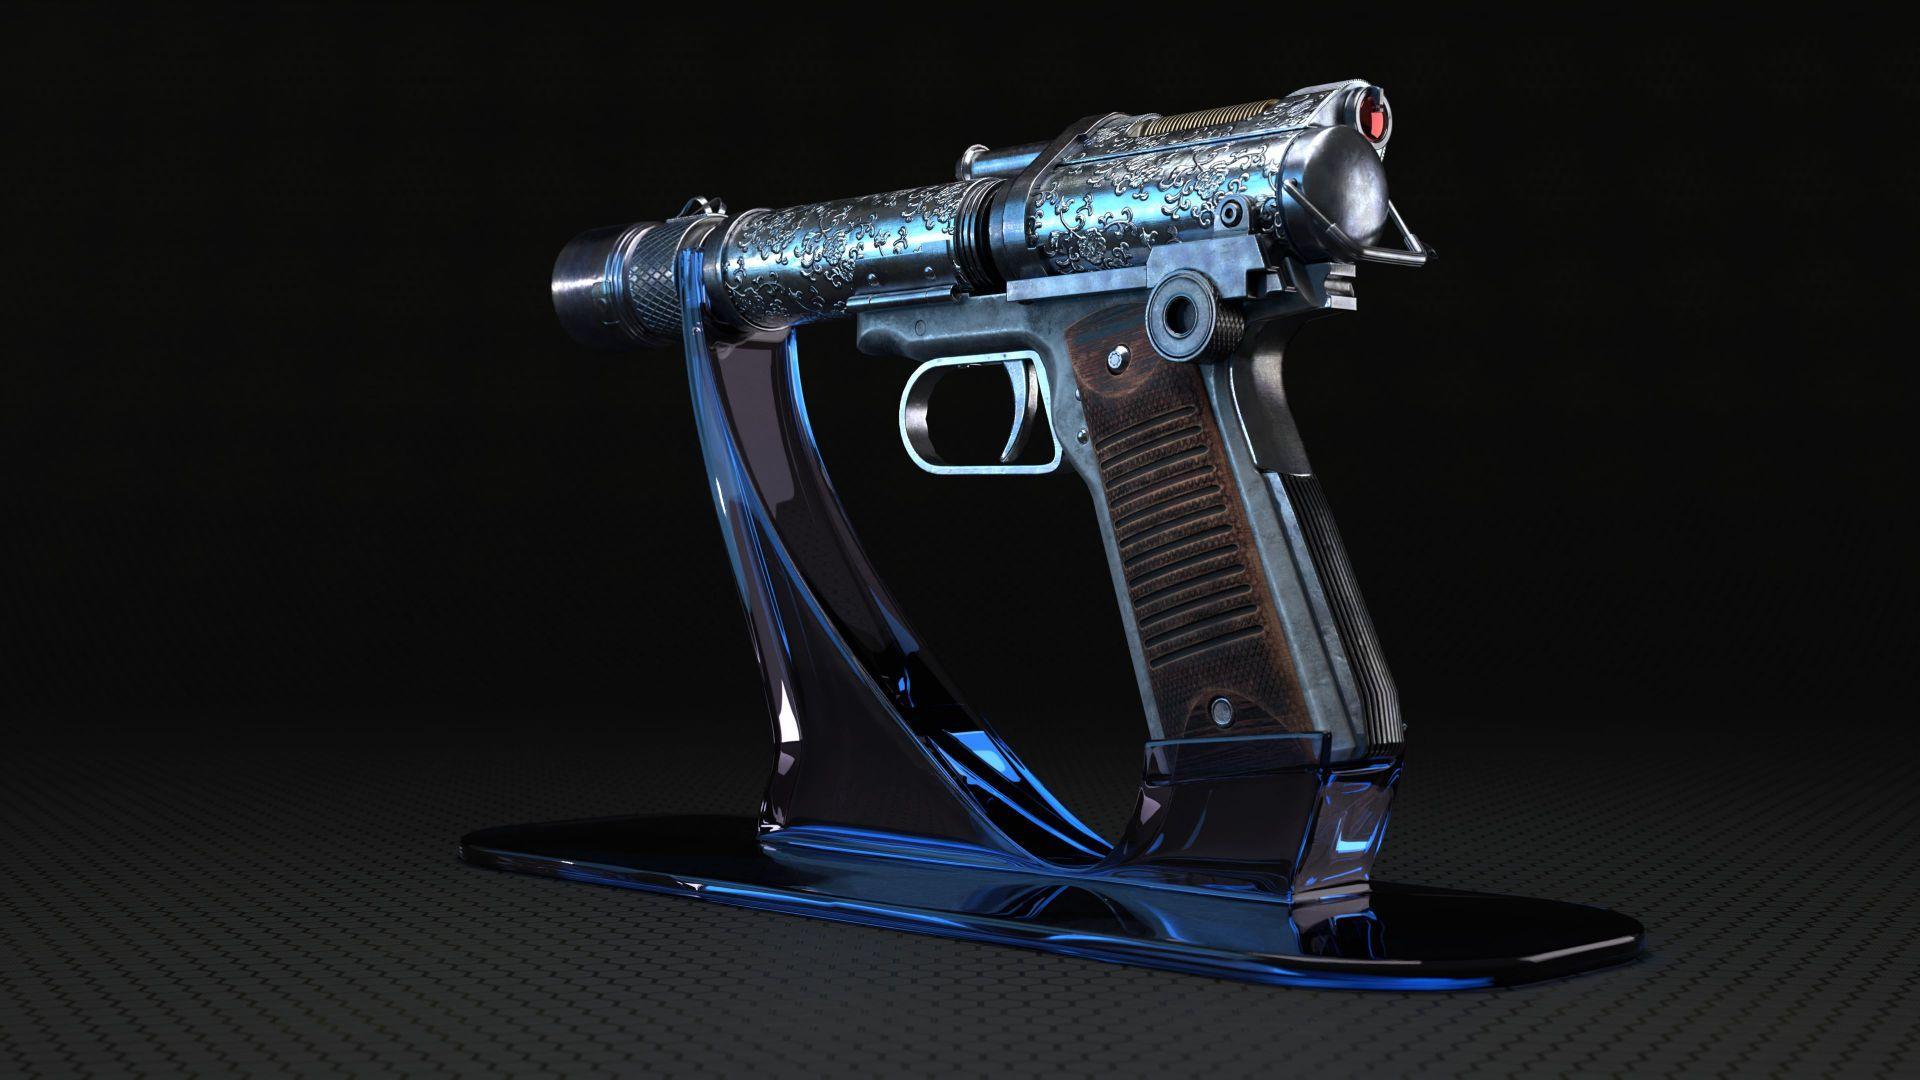
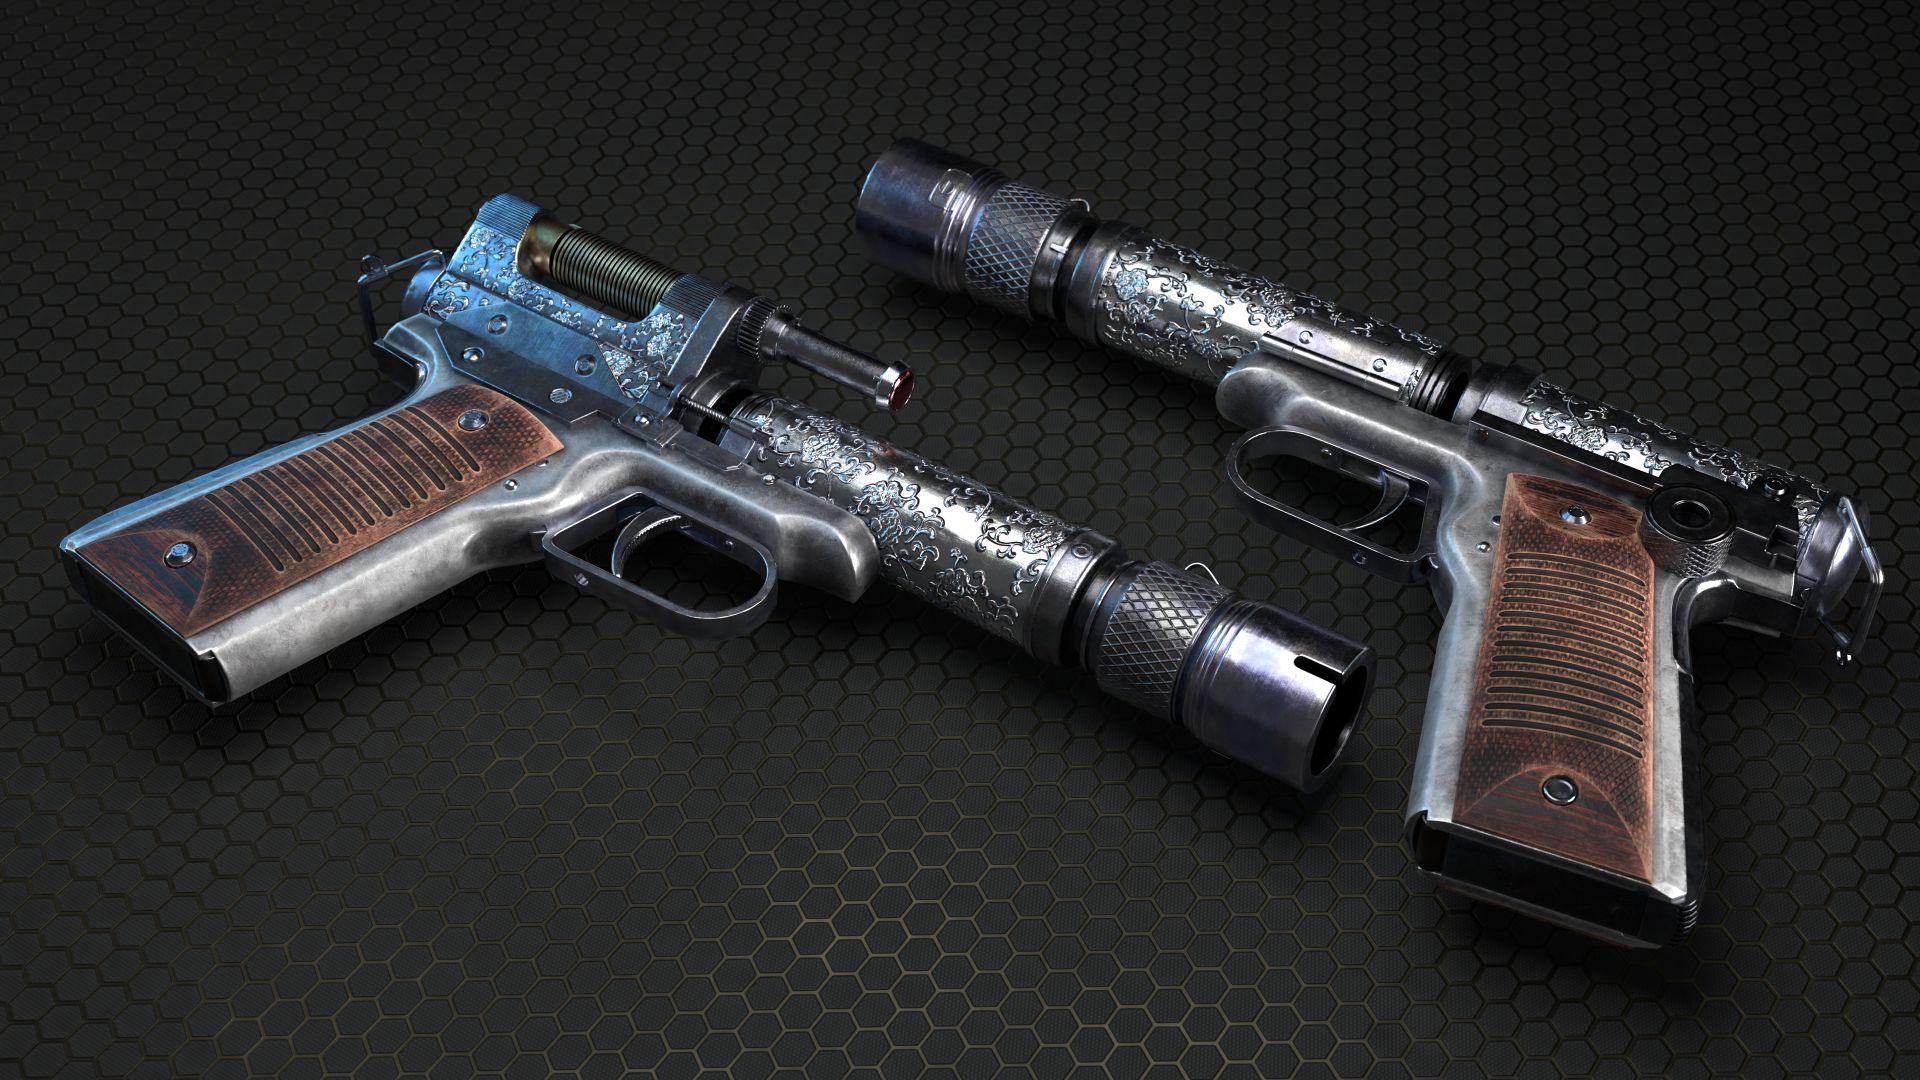
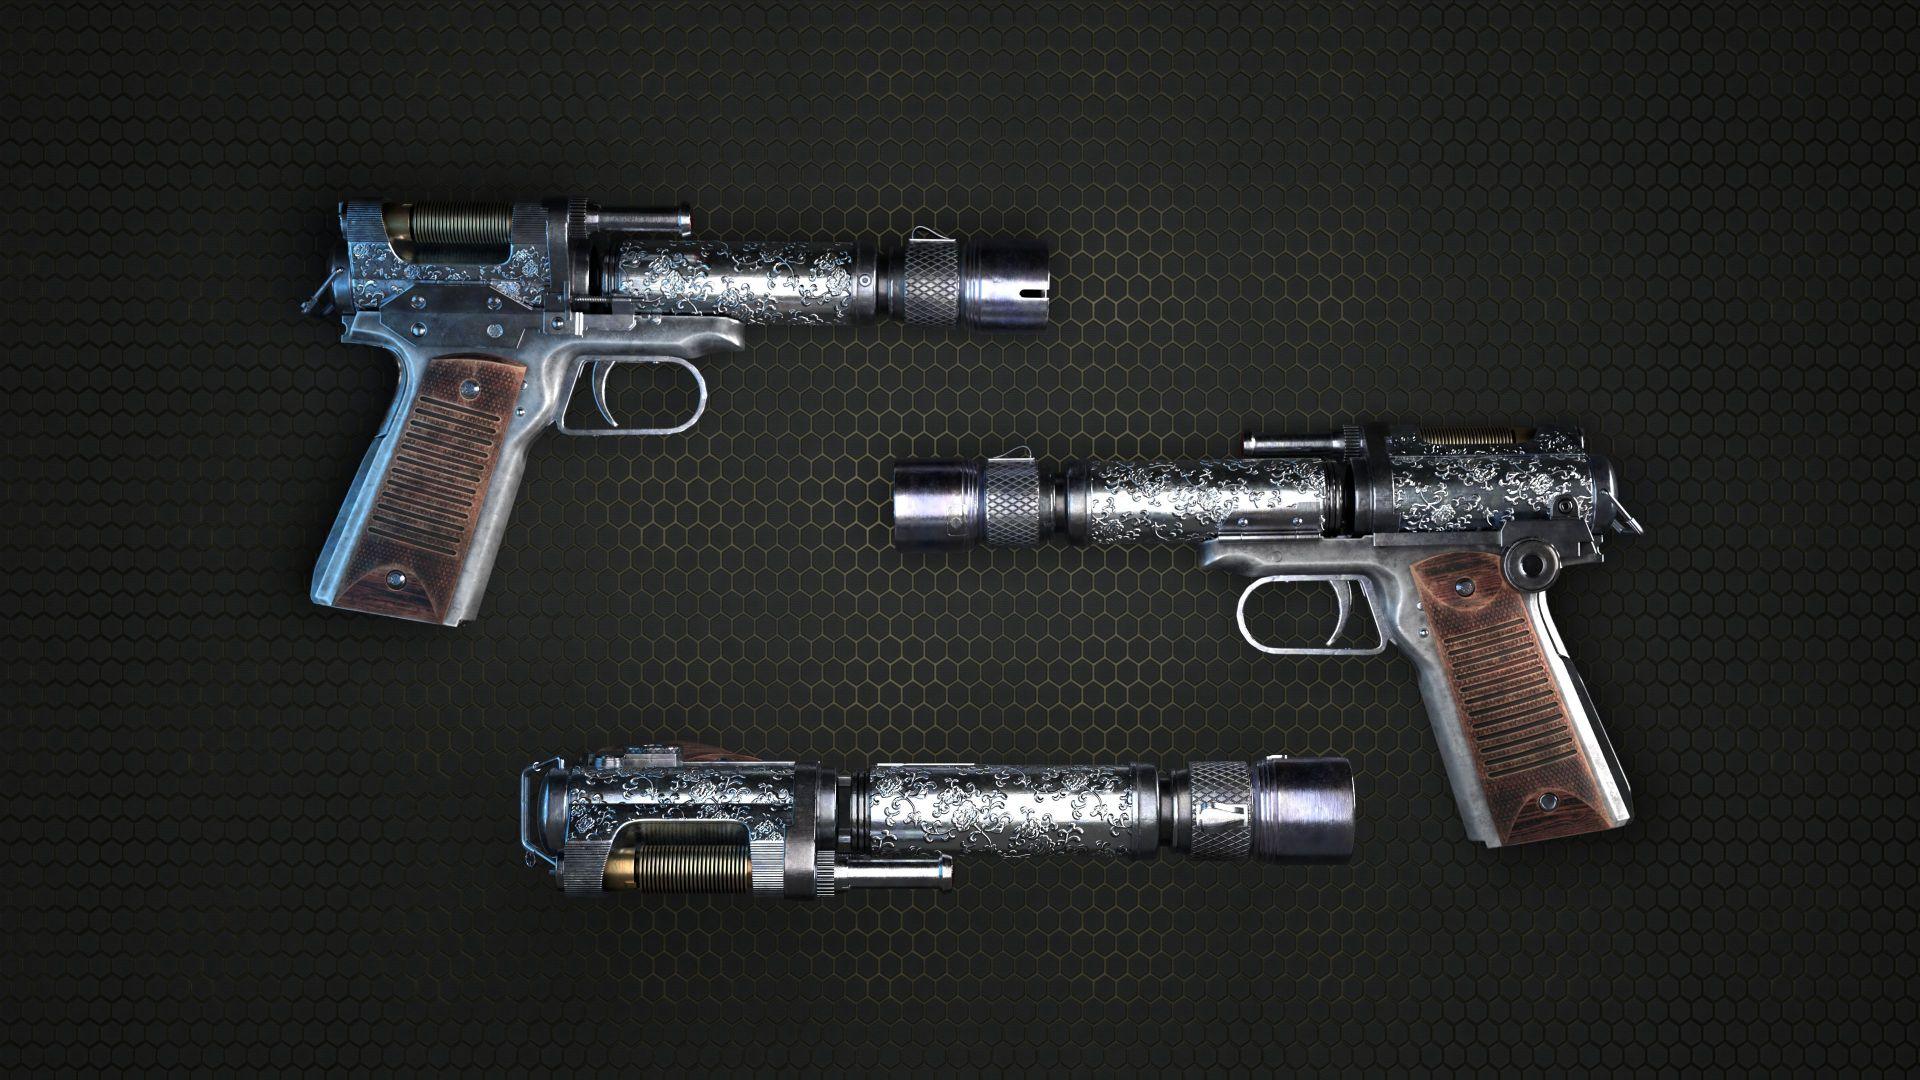

Kay Vess' Blaster - Star Wars Outlaws - 3D Fan Art
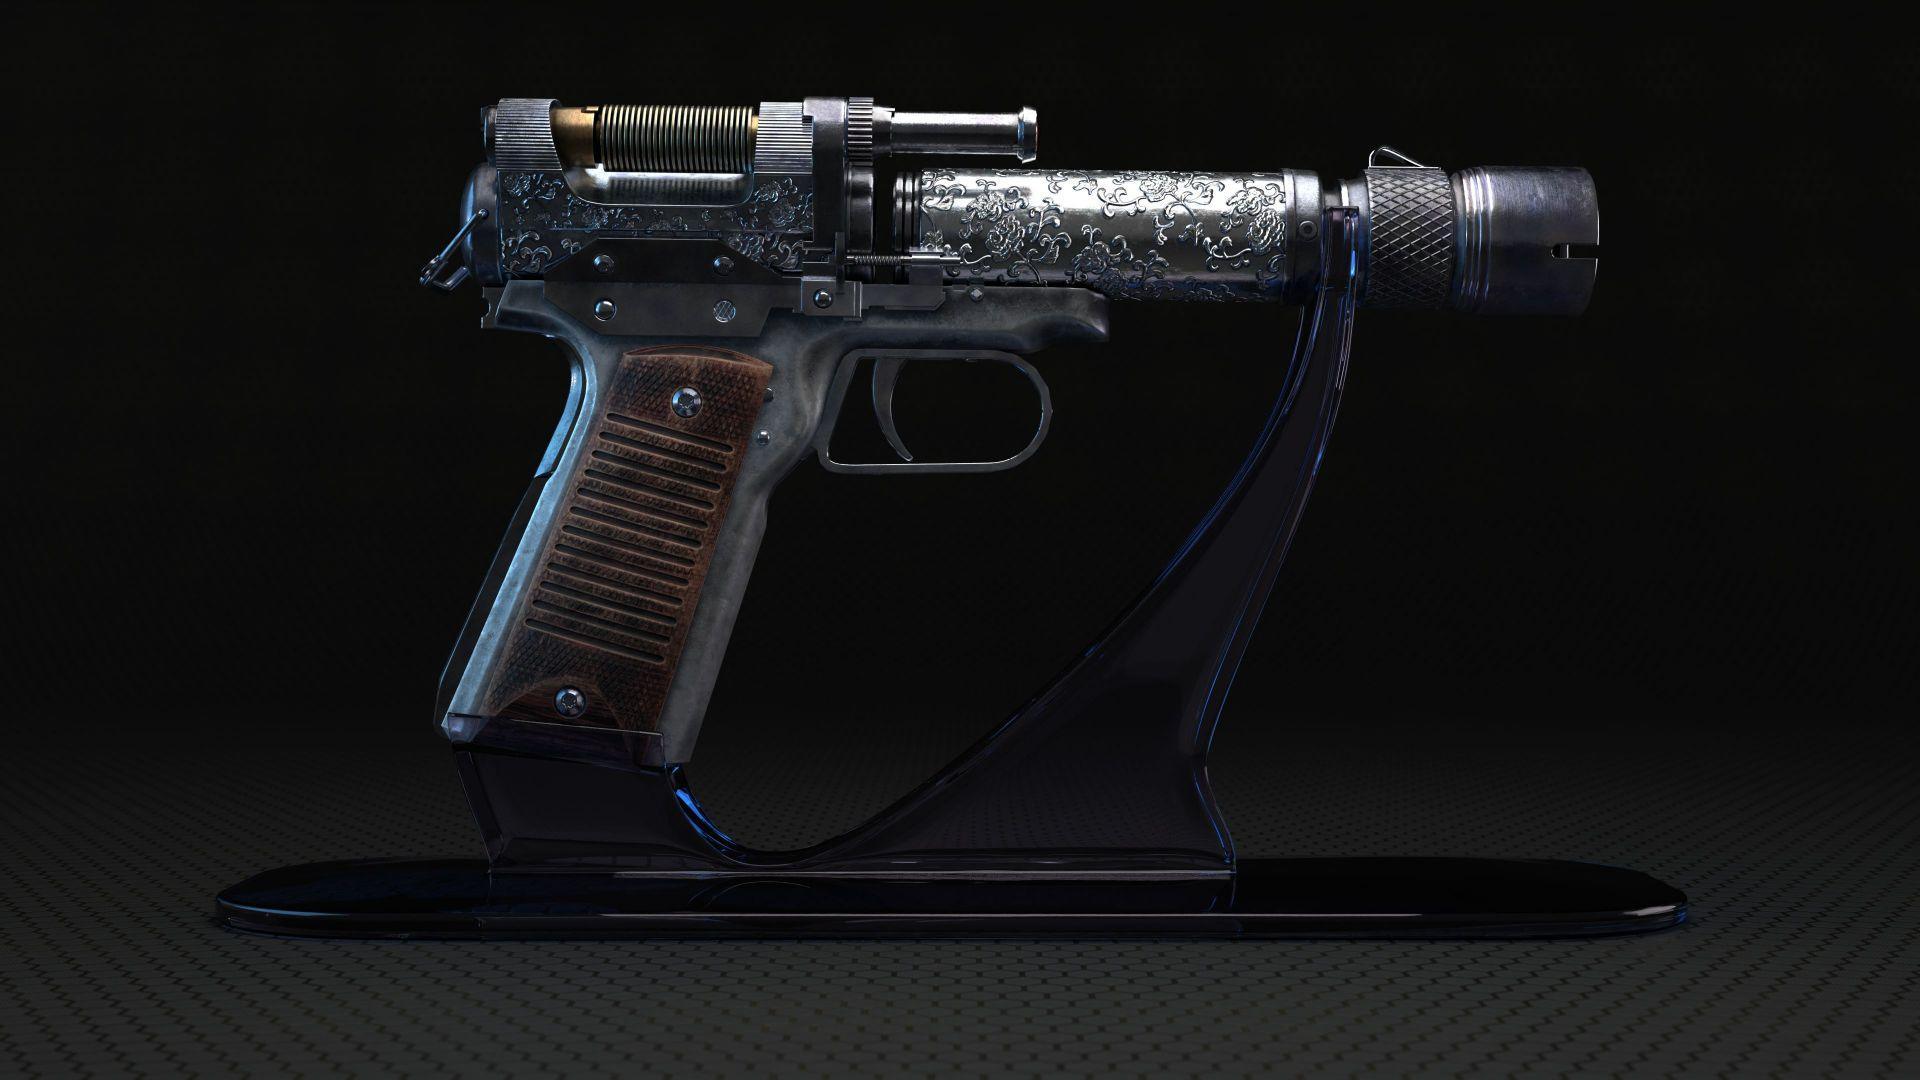
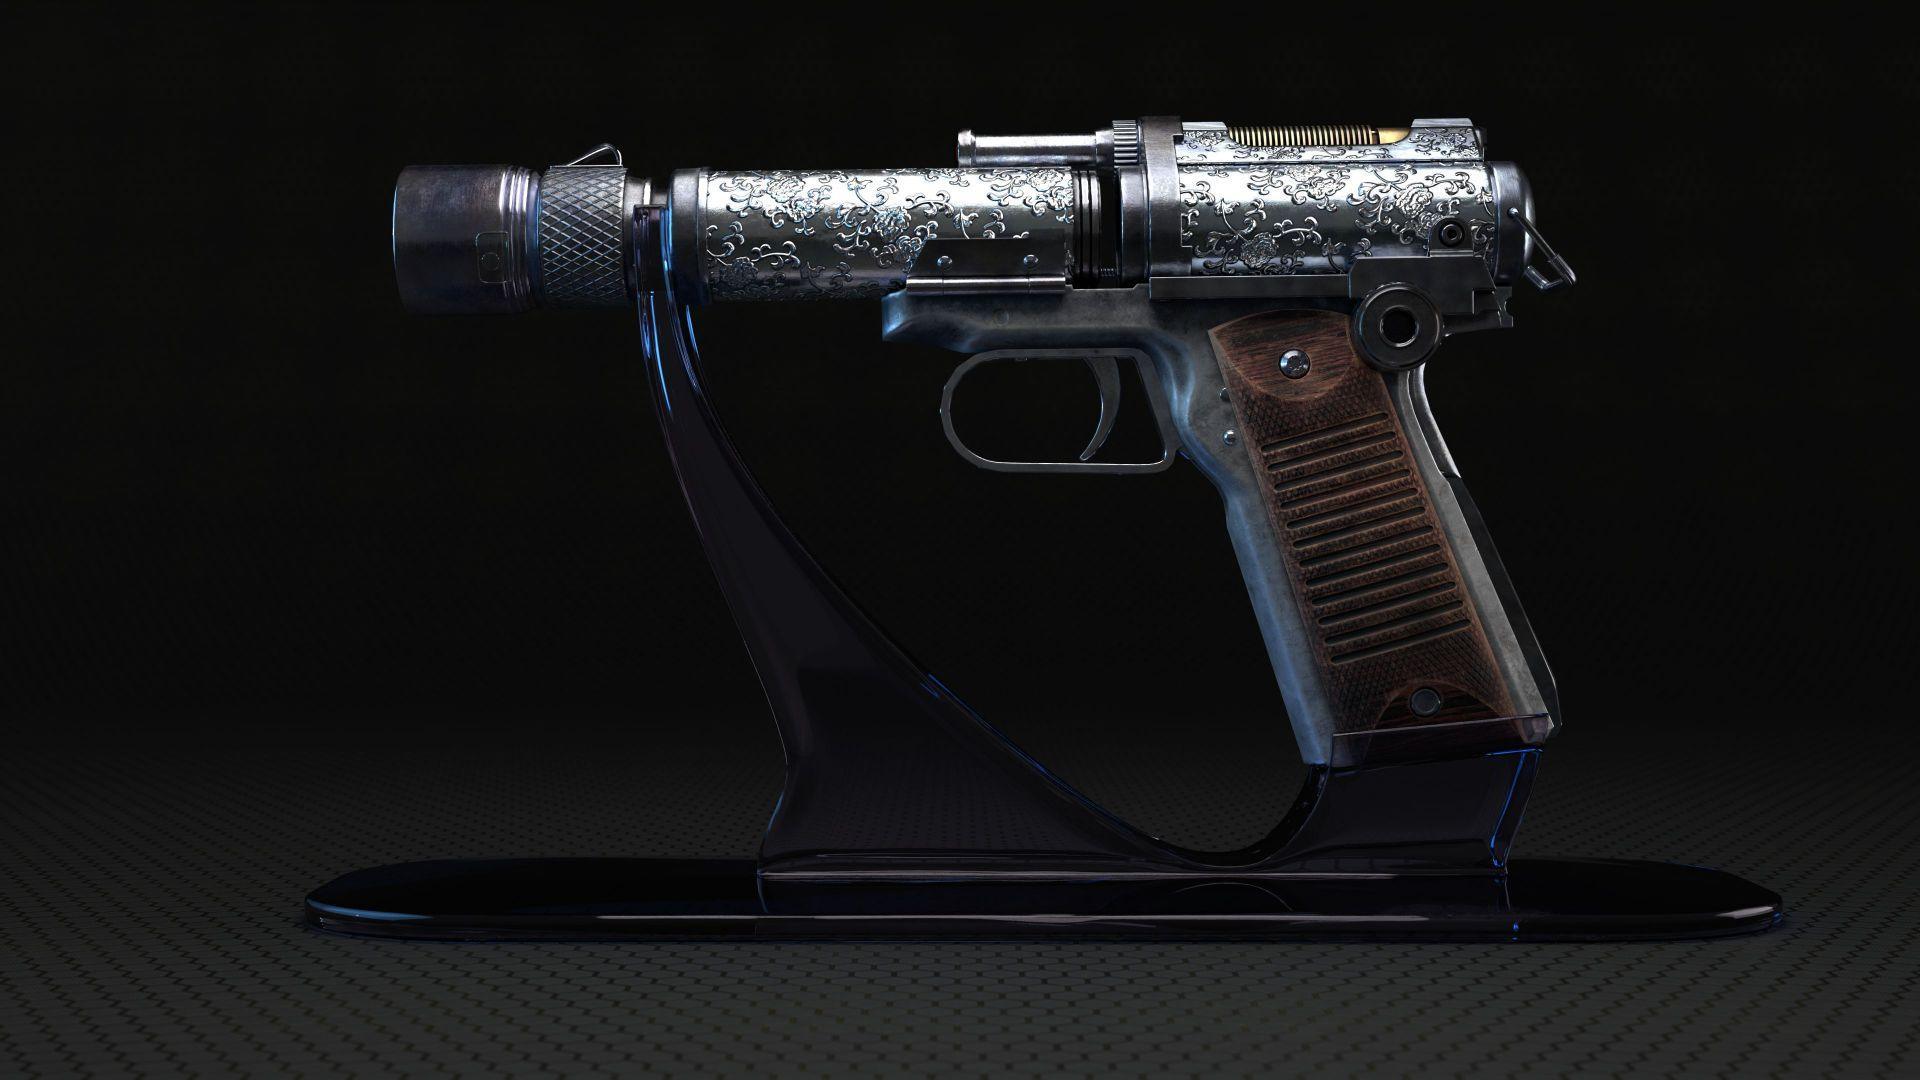
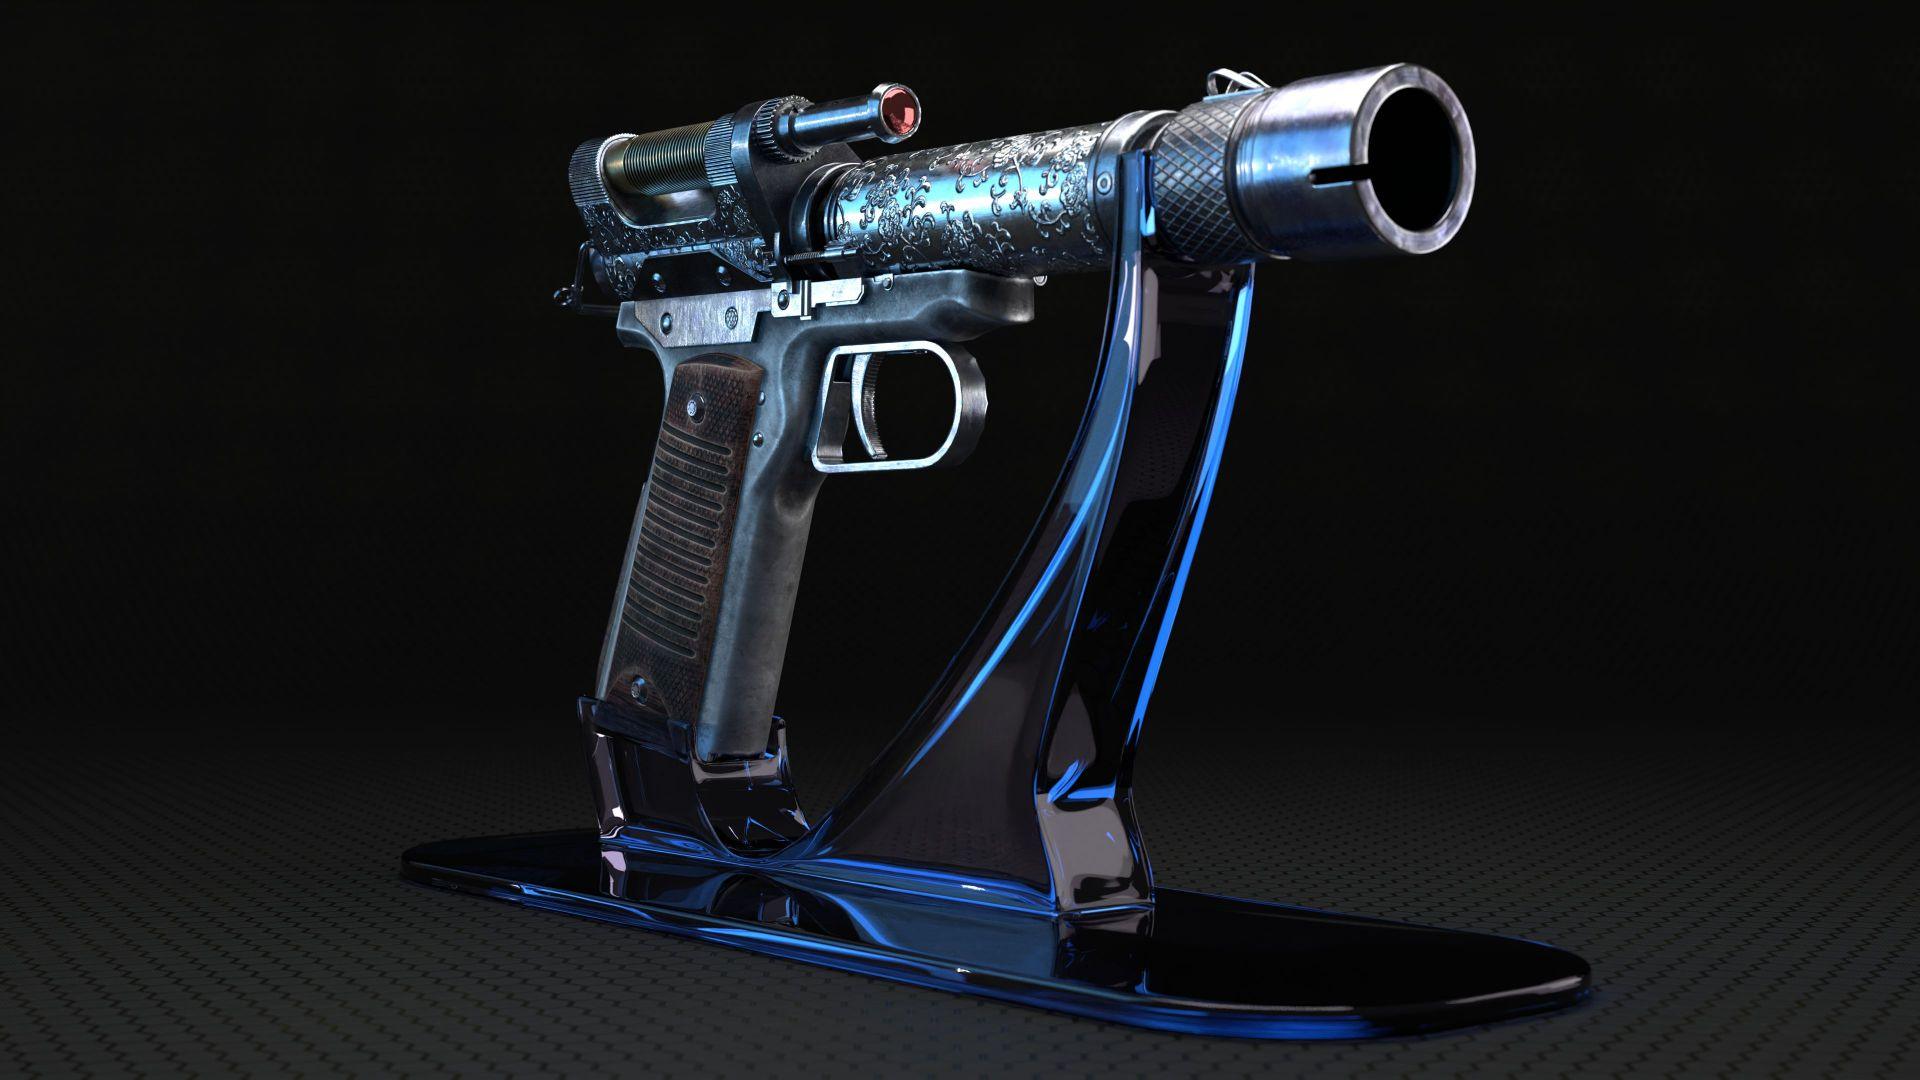
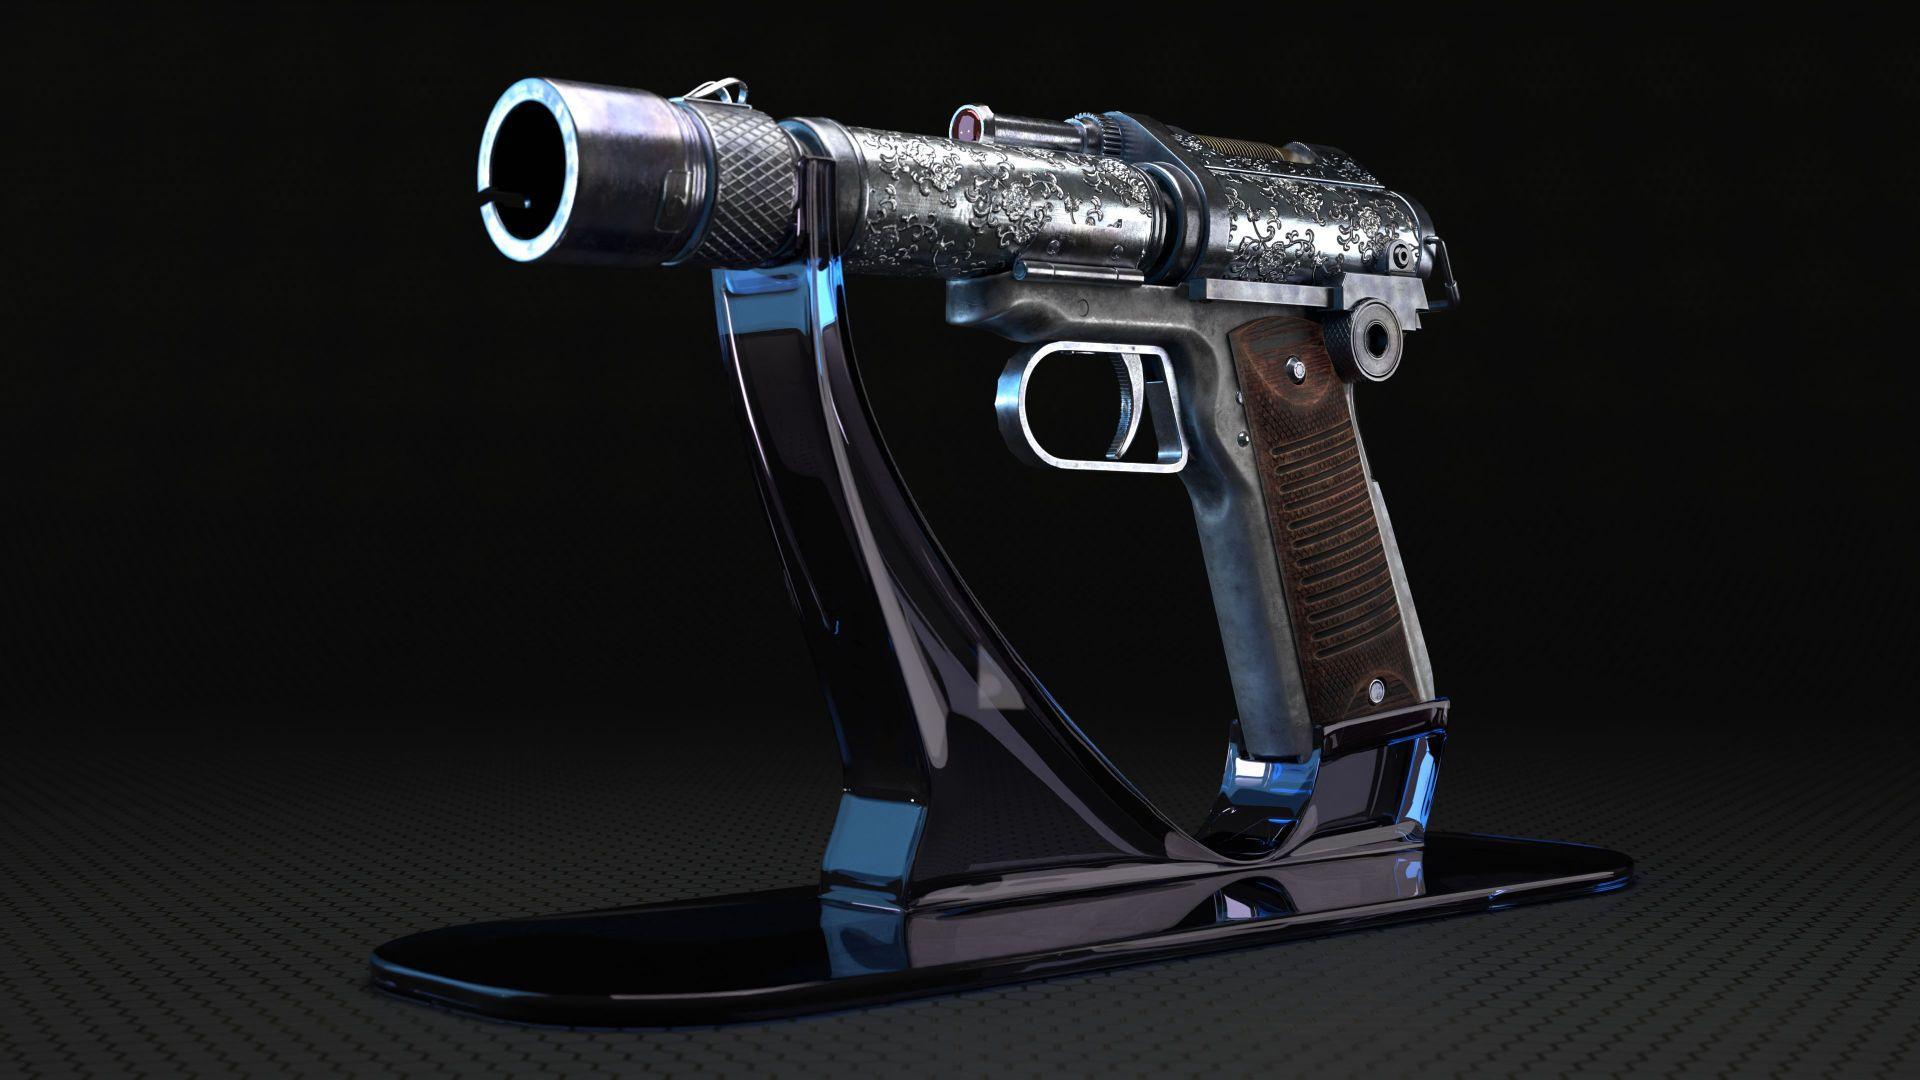
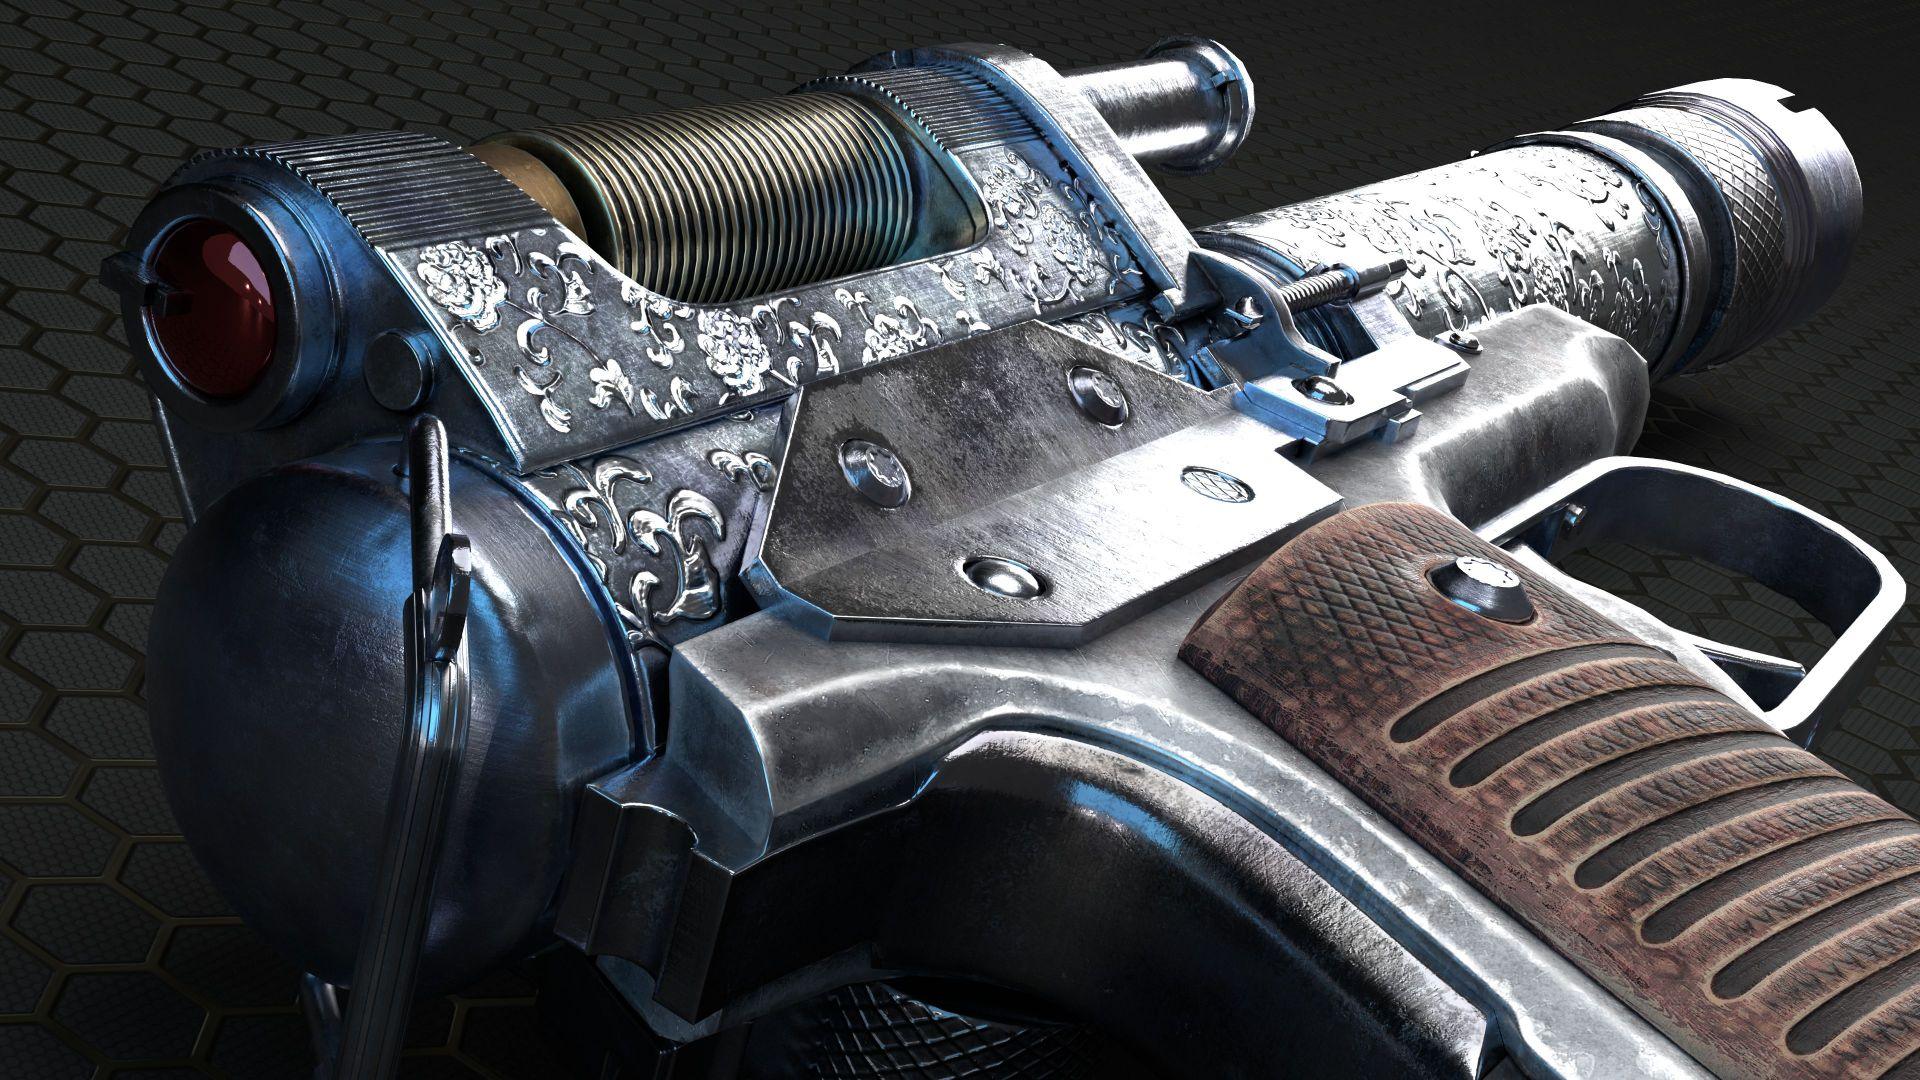
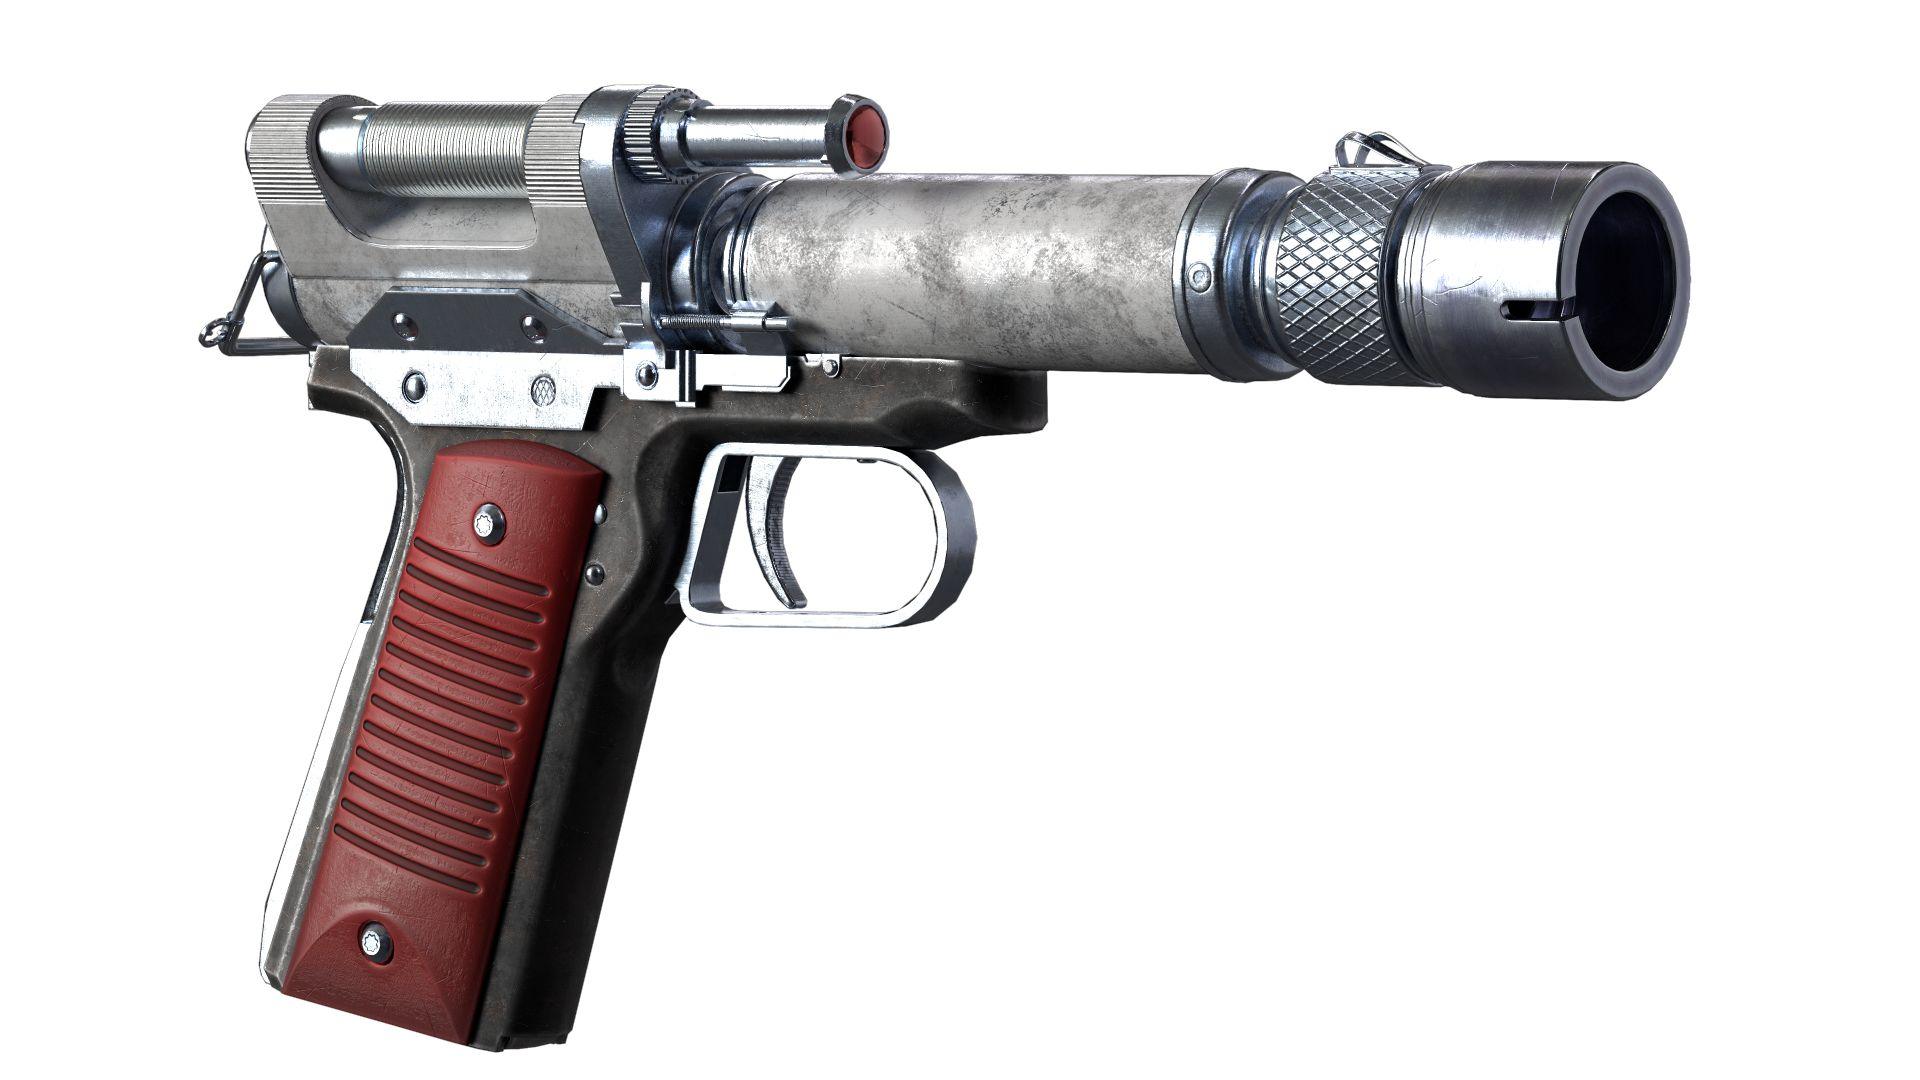
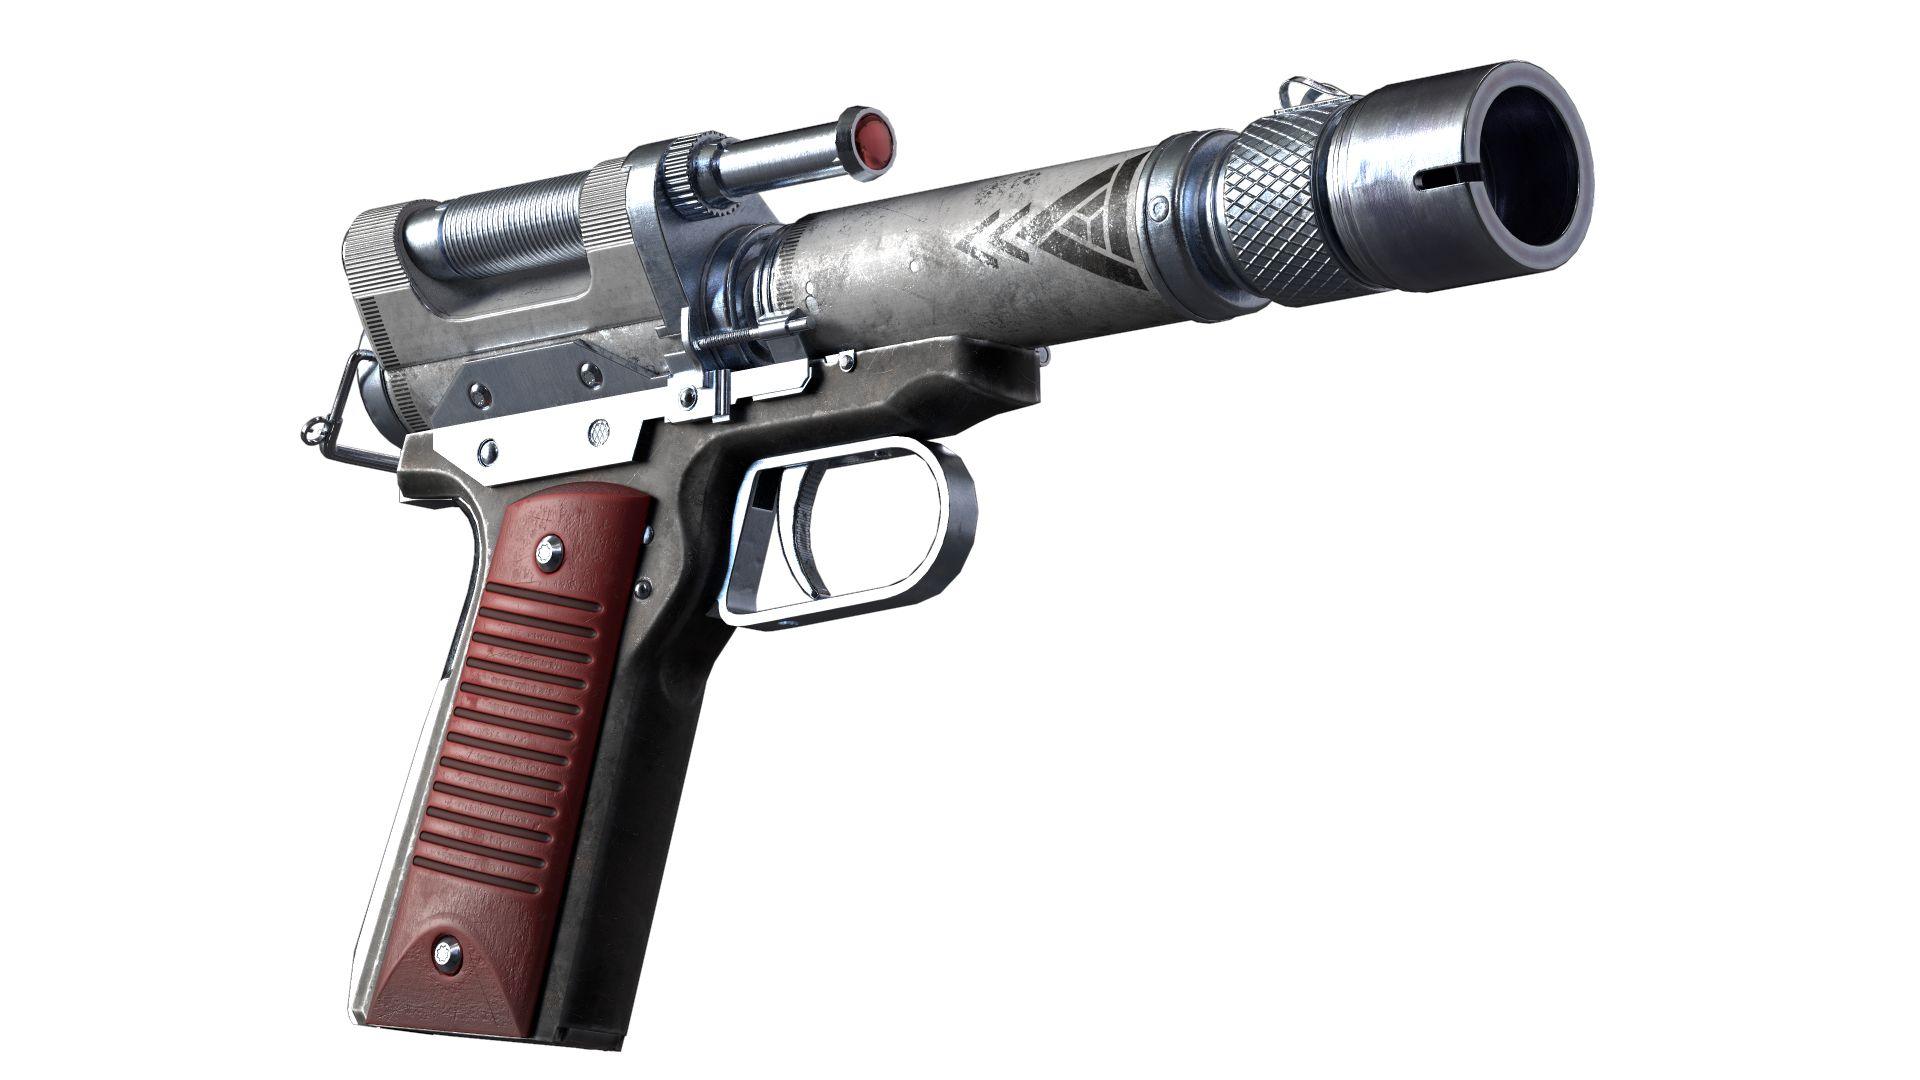
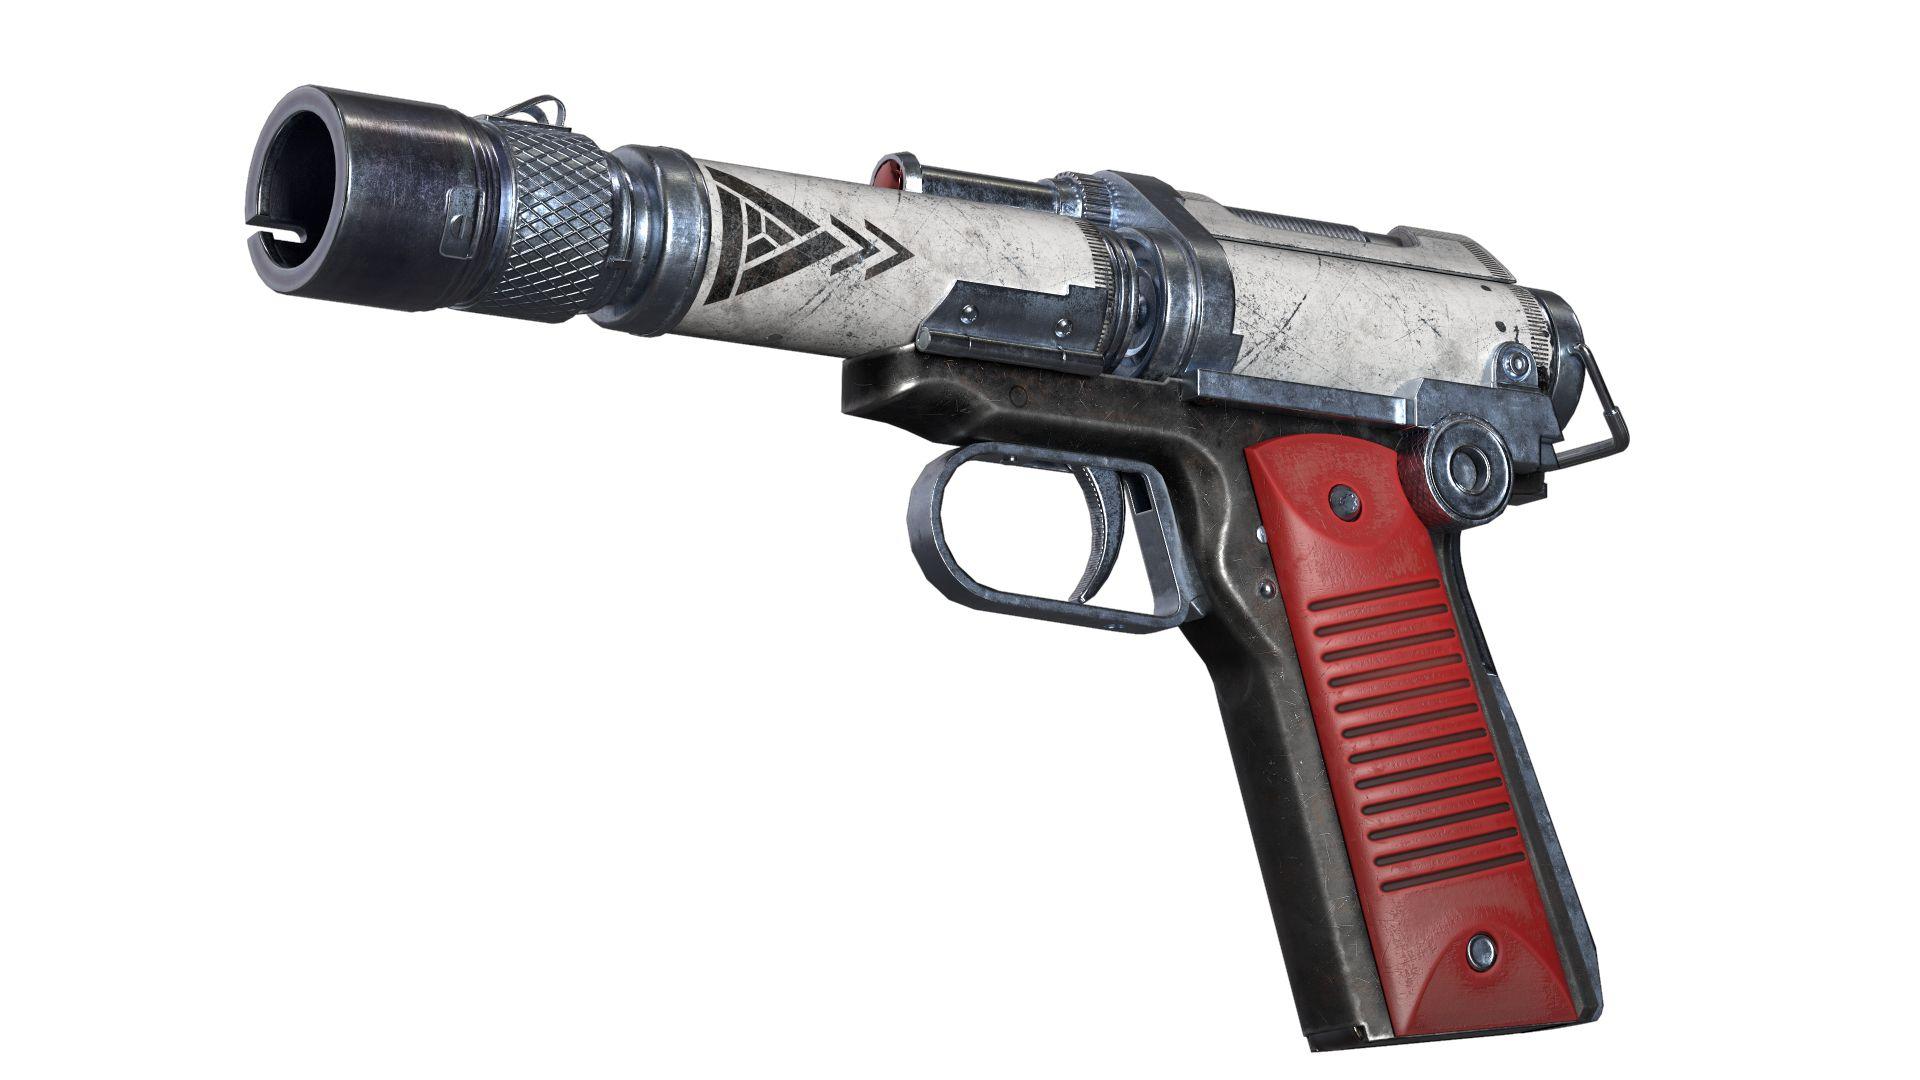
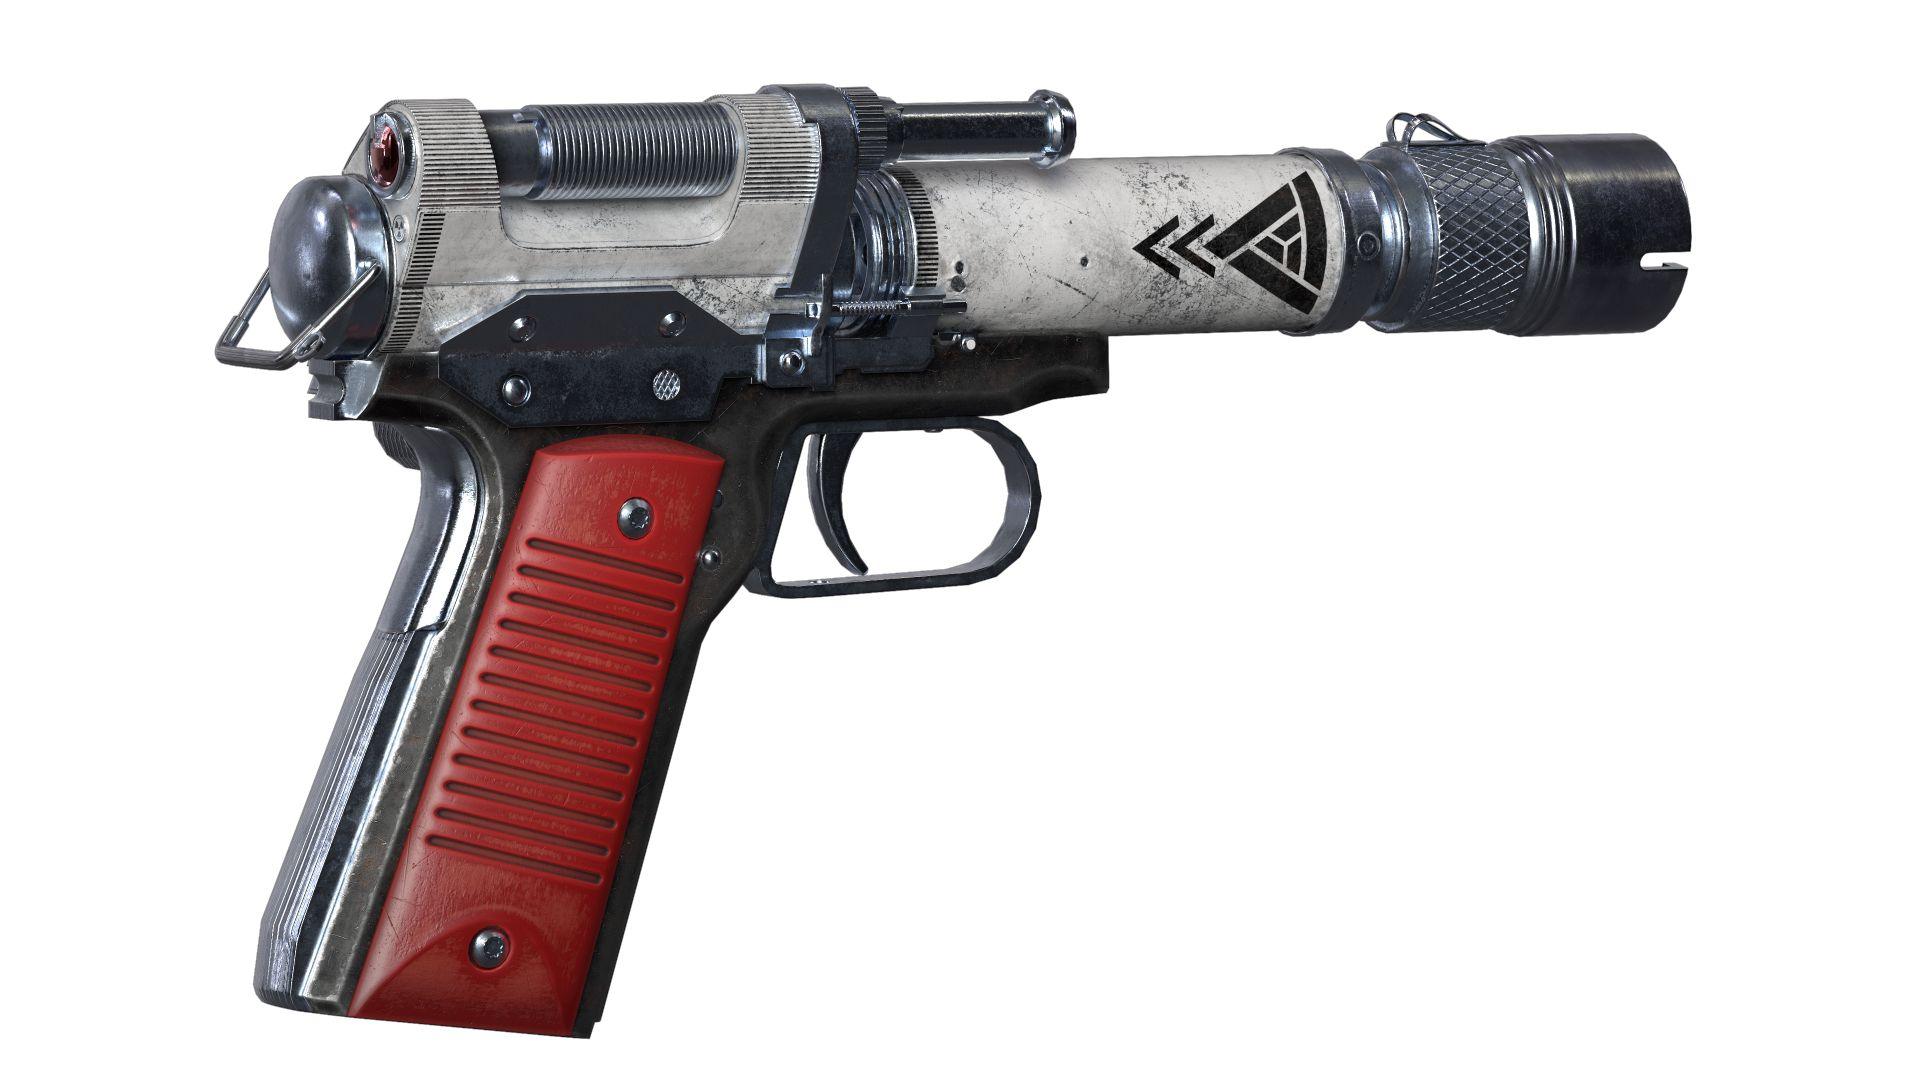
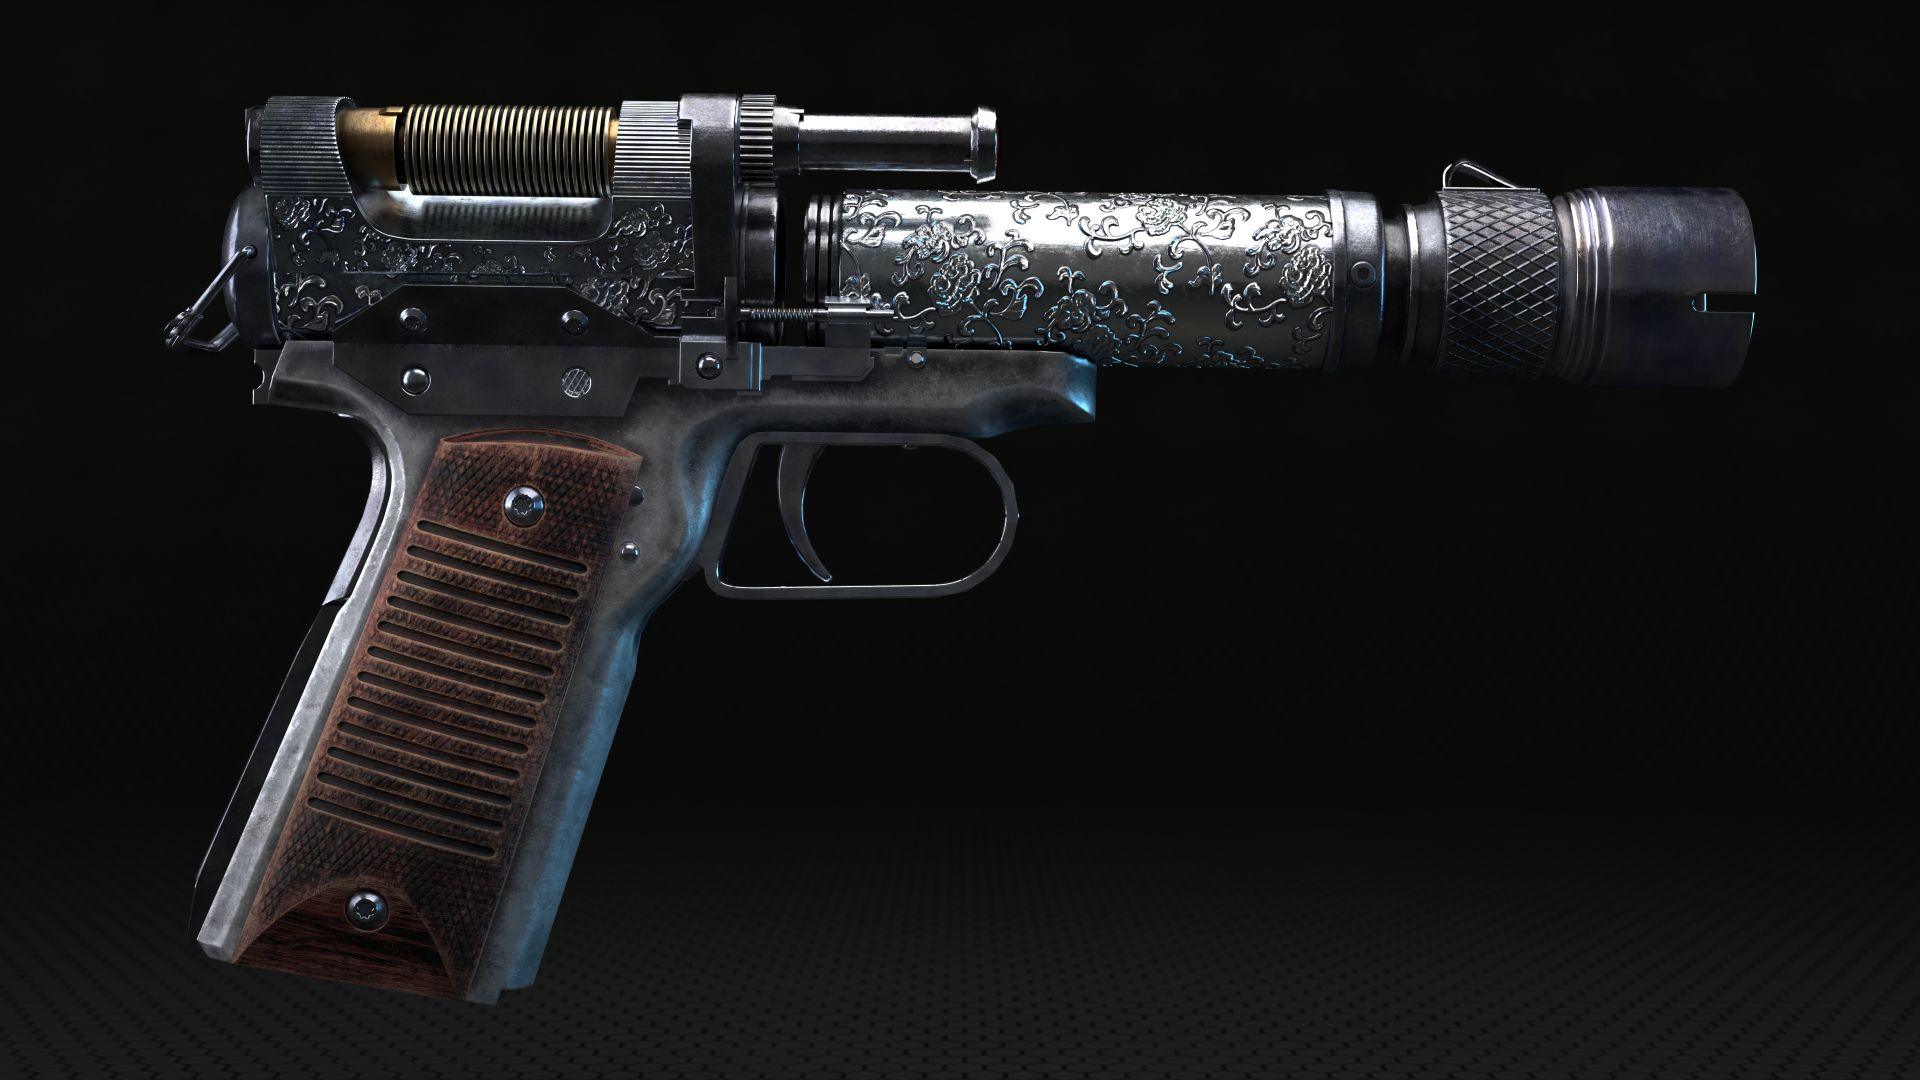
This is my 3d replica fan art of Kay Vess' Blaster from Star Wars Outlaws, concept by the skilled Kamil Haddad, kudos to him for the great works he creates! https://www.artstation.com/kamilhaddad
This was a milestone artwork for me as it helped me improve and learn a better workflow for better quality in the final result, bringing it up to a higher level that could fit higher budget projects. The textures and the decors in particular were very fun and satisfying to make!
The 3D background is also modeled and textured by me, taken after the jail hallway on the Death Star in Star Wars: A new hope
A huge THANKYOU! goes to the people of Shortcut Project and Shortcut CGI Hub, whose great talent and forthcoming helpfulness made this lovely piece of 3D art possible.
Read on for a more detailed breakdown!
KAY VESS BLASTER WORKFLOW BREAKDOWN by DANIELE BONACINI
REFERENCES
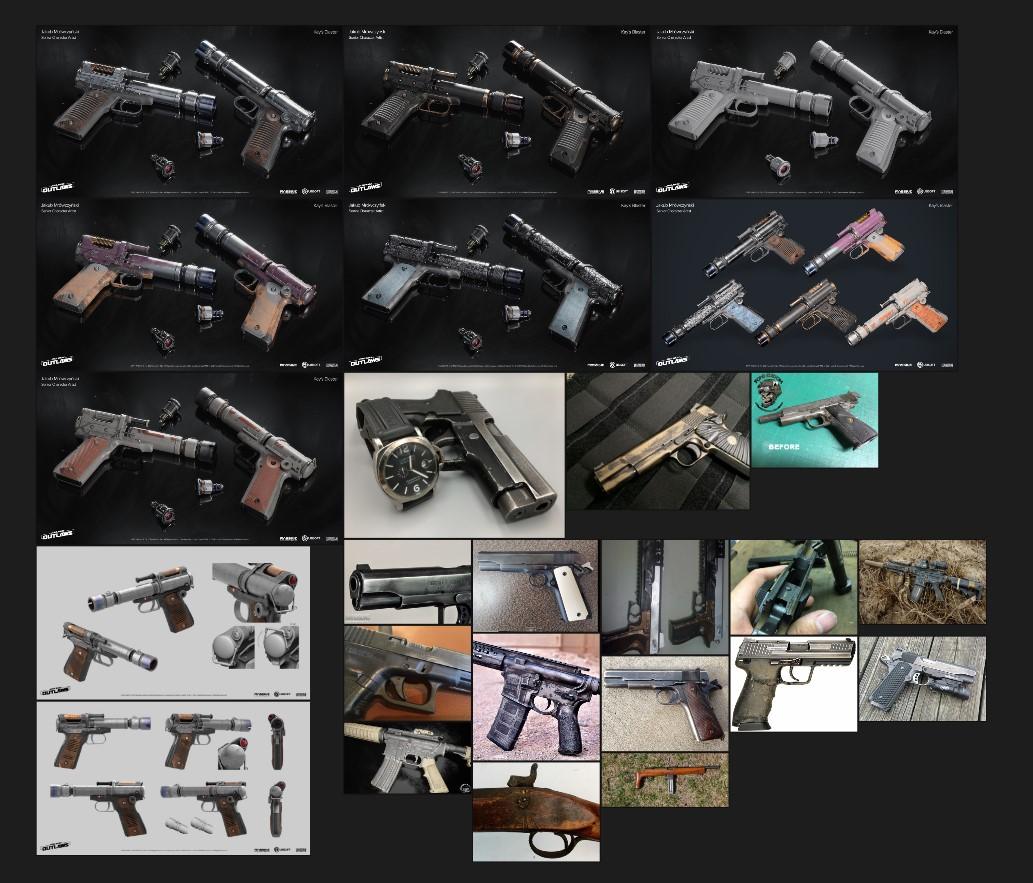
I was looking for a good subject to improve and challenge my hard surface and texturing skills, the choice fell on Kay Vess’ Blaster from Star Wars Outlaws.
First thing of course was to gather references, of the original 3D concept, of the final 3D game ready models with various skins, and of various firearms, so to have more references for the materials.
The main ref used for my version was the blaster with the decorated barrel, since it would add an extra layer of challenge to recreate all of those flowery decors.
BLOCKOUT
After studying the main refs I’ve kickstarted things off with the blockout, so to build up a first simplified structure of the blaster that would have correct dimensions and scale.
I’ve also imported several of the refs images in Blender to use in the ortographic views and model with precise measures.
Once the blockout was done I begun to work on the actual model.
HIGH POLY MODELING
I mainly used a subdivision modelling workflow, so that while creating the high poly version I would also build the base for the low poly version. So the high poly came first to completion, at about 8 mil tris.
The parts that challenged me the most were the handle and handle cover of the gun, as these had weird shapes that needed plenty of adjustments.
Even the simple act of readying the ref images in a clear enough way has shown to be somewhat difficult at times, due to not high enough resolution of the same images. So in order to solve some parts of the blaster I’ve looked up for some other 3D fan art of the model, to get a better idea of how some pieces could be done.
LOW POLY MODELING
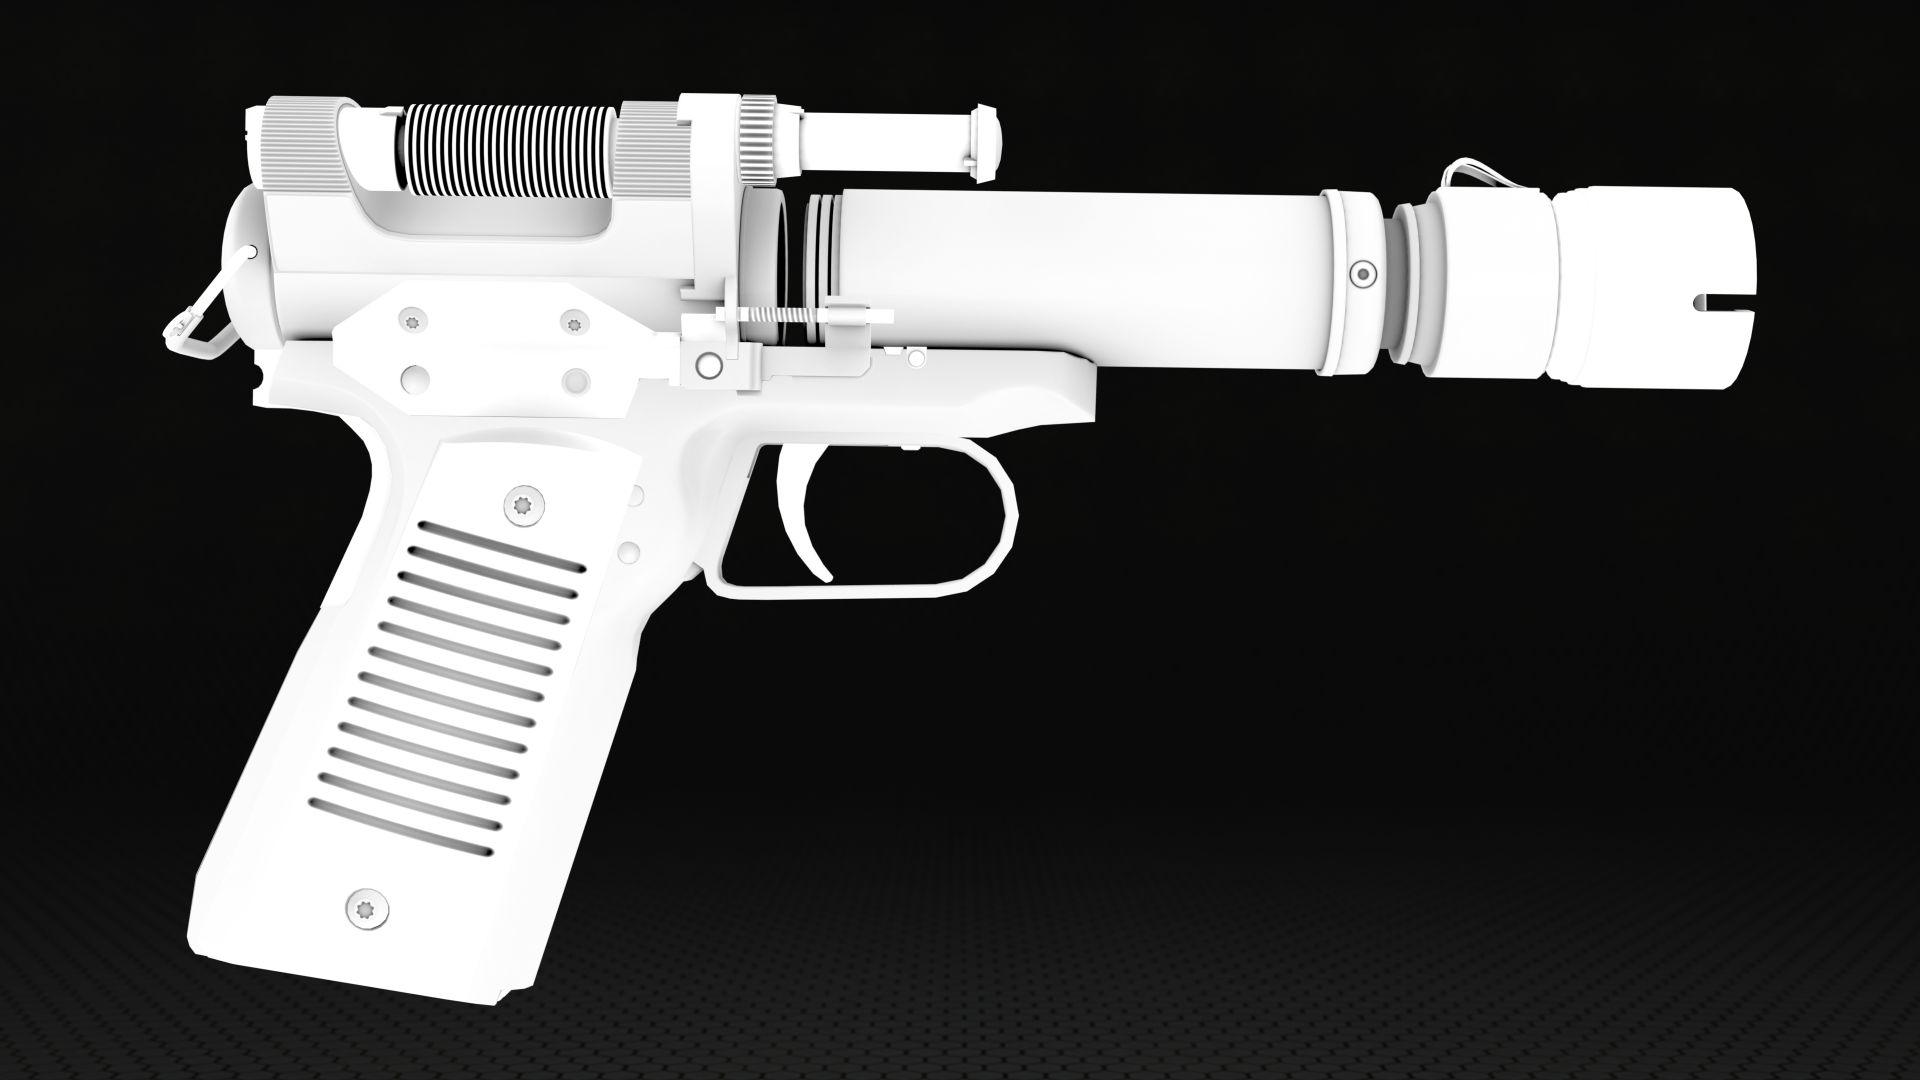
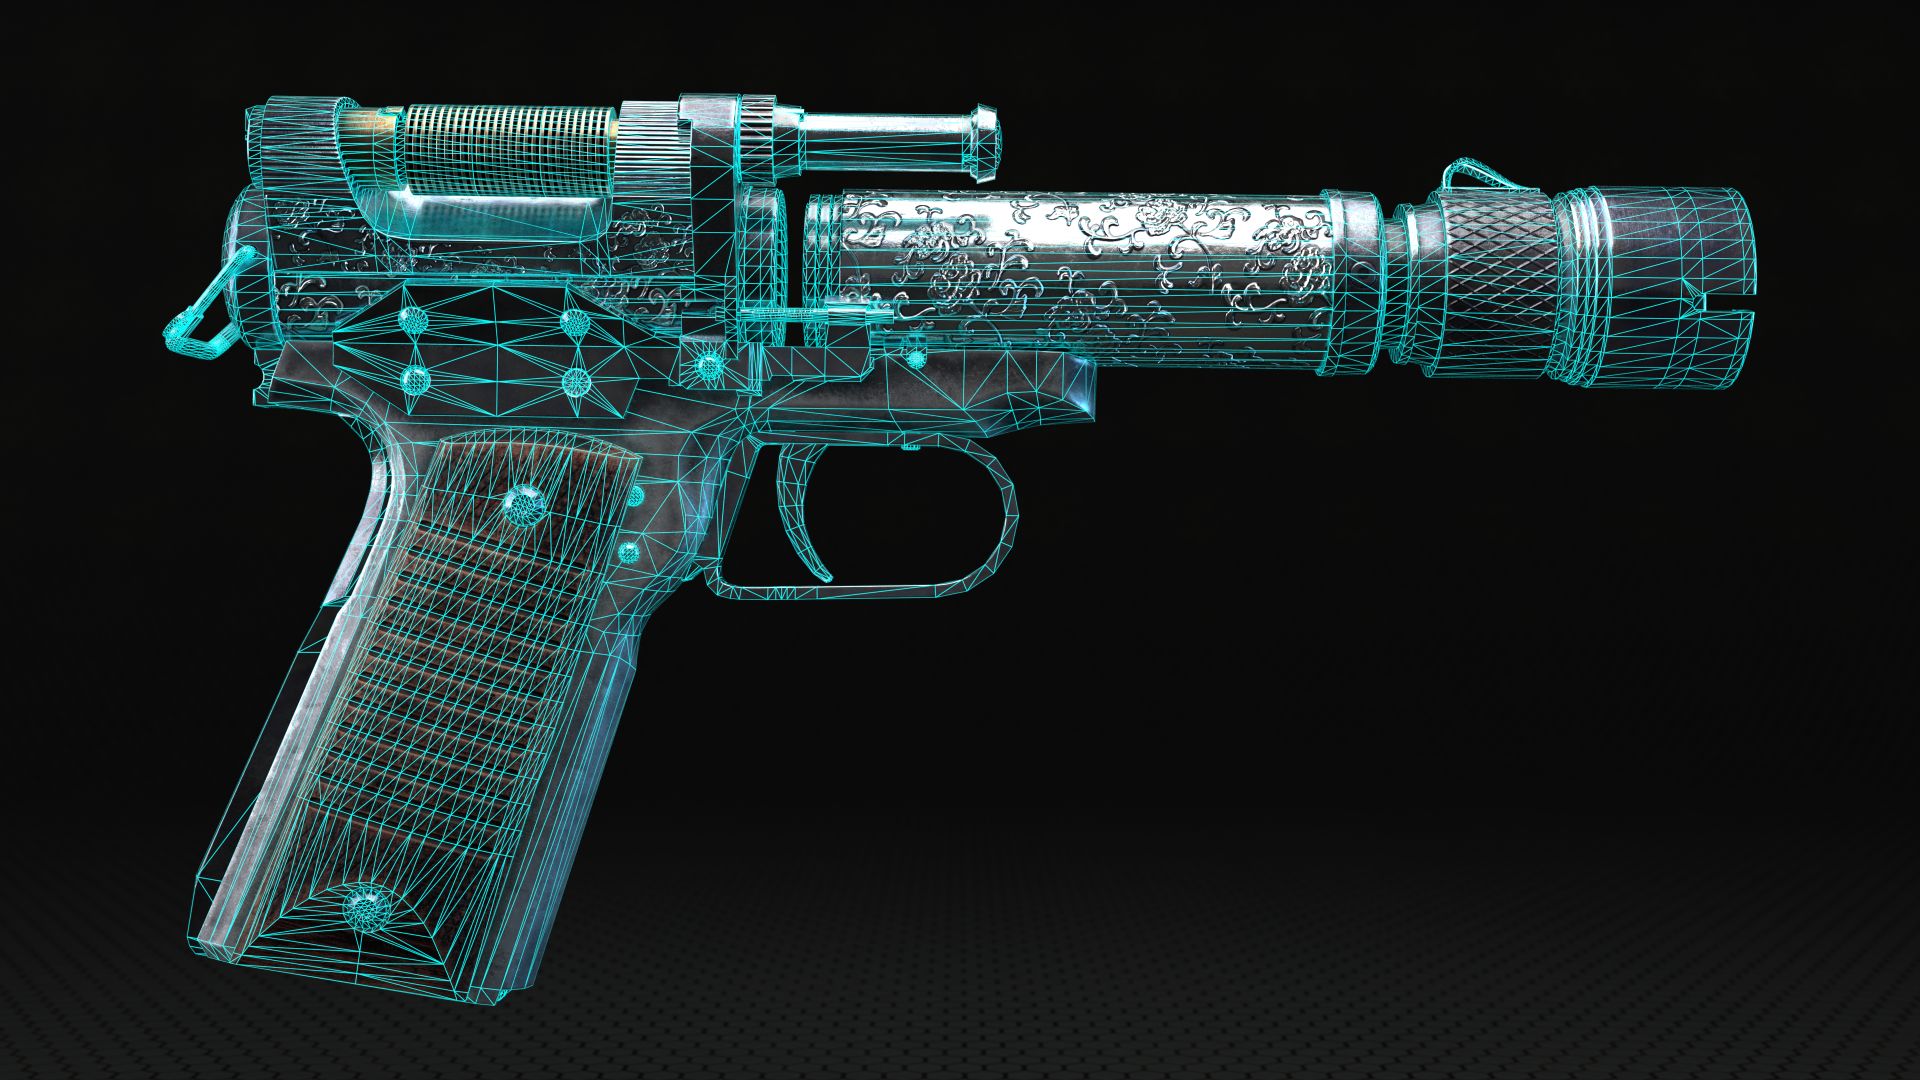
Once the high poly was complete, I worked ‘’in reverse’’, turning off the subD and further simplifying the topology of the various parts, removing the support loops used in the subD workflow, and removing unnecessary edges and faces where simpler planes could be used. This brought down the poly count to 21.5k. I reckon I could lower it even further if I made a version of this model that would be used in an actual game and not just as portfolio piece, but it would result more blocky and not as appealing to the eye.
Another thing I did was to rename the corresponding mesh parts of the high and low poly with the same name, with the suffix _high and _low as the only difference. This is needed in order to bake things easier.
UV MAPPING
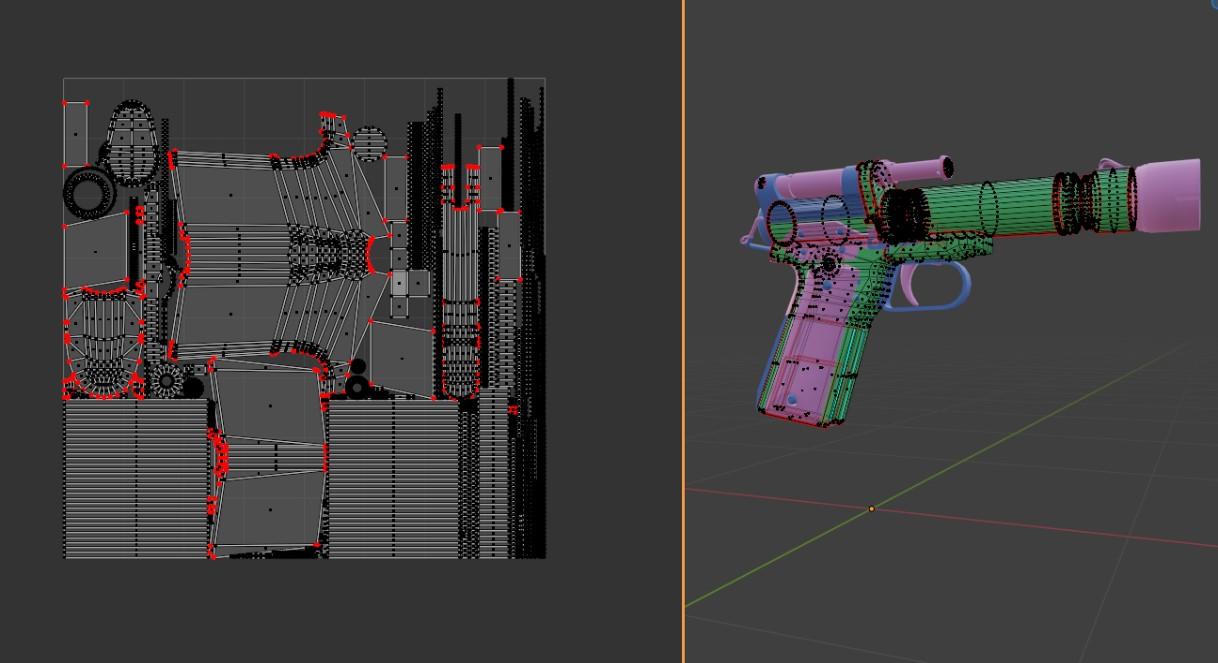
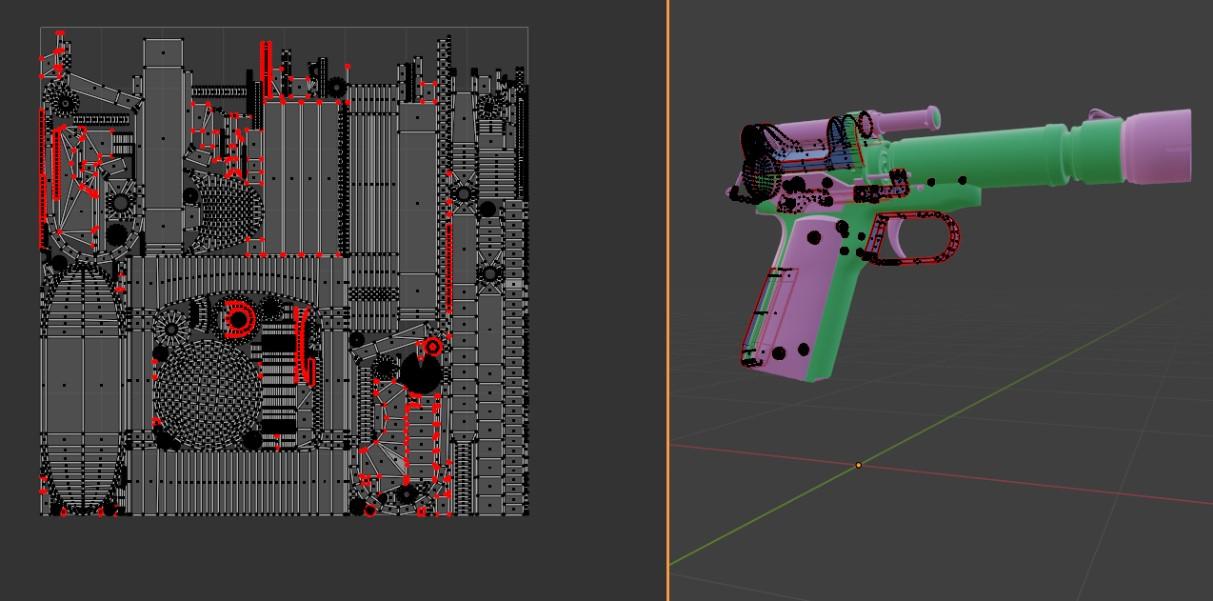
With the low poly done, it was time for UV mapping! This had its own set of hurdles, because the blaster is composed of several pieces and I wanted the UV to have a nicely high texel density, so to better value its showcase purpose. I also had to quadrify / rectify what UV islands I could so to reduce the pixellated effect on the texture, while also avoiding distortions.
Since this is supposed to be a game ready model, I ultimately avoided using more than one UDIM, as those are used in movies due to the added load burden they bring, and instead I evenly separated the parts in 3 different groups.
These groups would represent 3 different texture sets, 3 different materials slots that would carry over to substance painter. You see here green, blue and pink to represent the 3 groups.
Grouped like this, I could let the UV maps of the 3 groups overlap with each other in the one UDIM. but since they are separated in 3 different sets, they wouldn’t cause conflicts. This is also the way it’s done in games, when dealing with a large amount of parts, without sacrificing texel density.
This stage took some time to figure out properly, several attempts.
BAKING
Another important reason why I separated the blaster’s parts into different sets: baking ease.
An issue with baking is that when parts of the model are too close, or the cage is not thin enough, the bake rays will cause visual issues, by projecting things where they don’t belong.
Separating the parts in groups, trying to assign to each group parts there weren’t adjacent with each other, allowed me to lessen this issue. Marmoset Toolbag allows to create separate bake groups in the same bake project, meaning the baking won’t project stuff between these groups, this was quite handy.
In order to use the multiple texture sets I had to set ‘’Tile Mode’’ in Marmoset’s bake project to ‘’Multiple Texture Set’’. Other settings I used were “Ignore Back Faces”, Mikk tangent space, Left handed tangent orientation, per vertex tangent calculation, smooth cage, fix mirrored tangets, use hidden meshes.
I used Marmoset instead of Substance Painter for the bake because, like others, I like that you can edit the bake cage however you like, by using the bake brush, and you can also fix the bake skew by using the skew brush, to eliminate distortions in the baking.
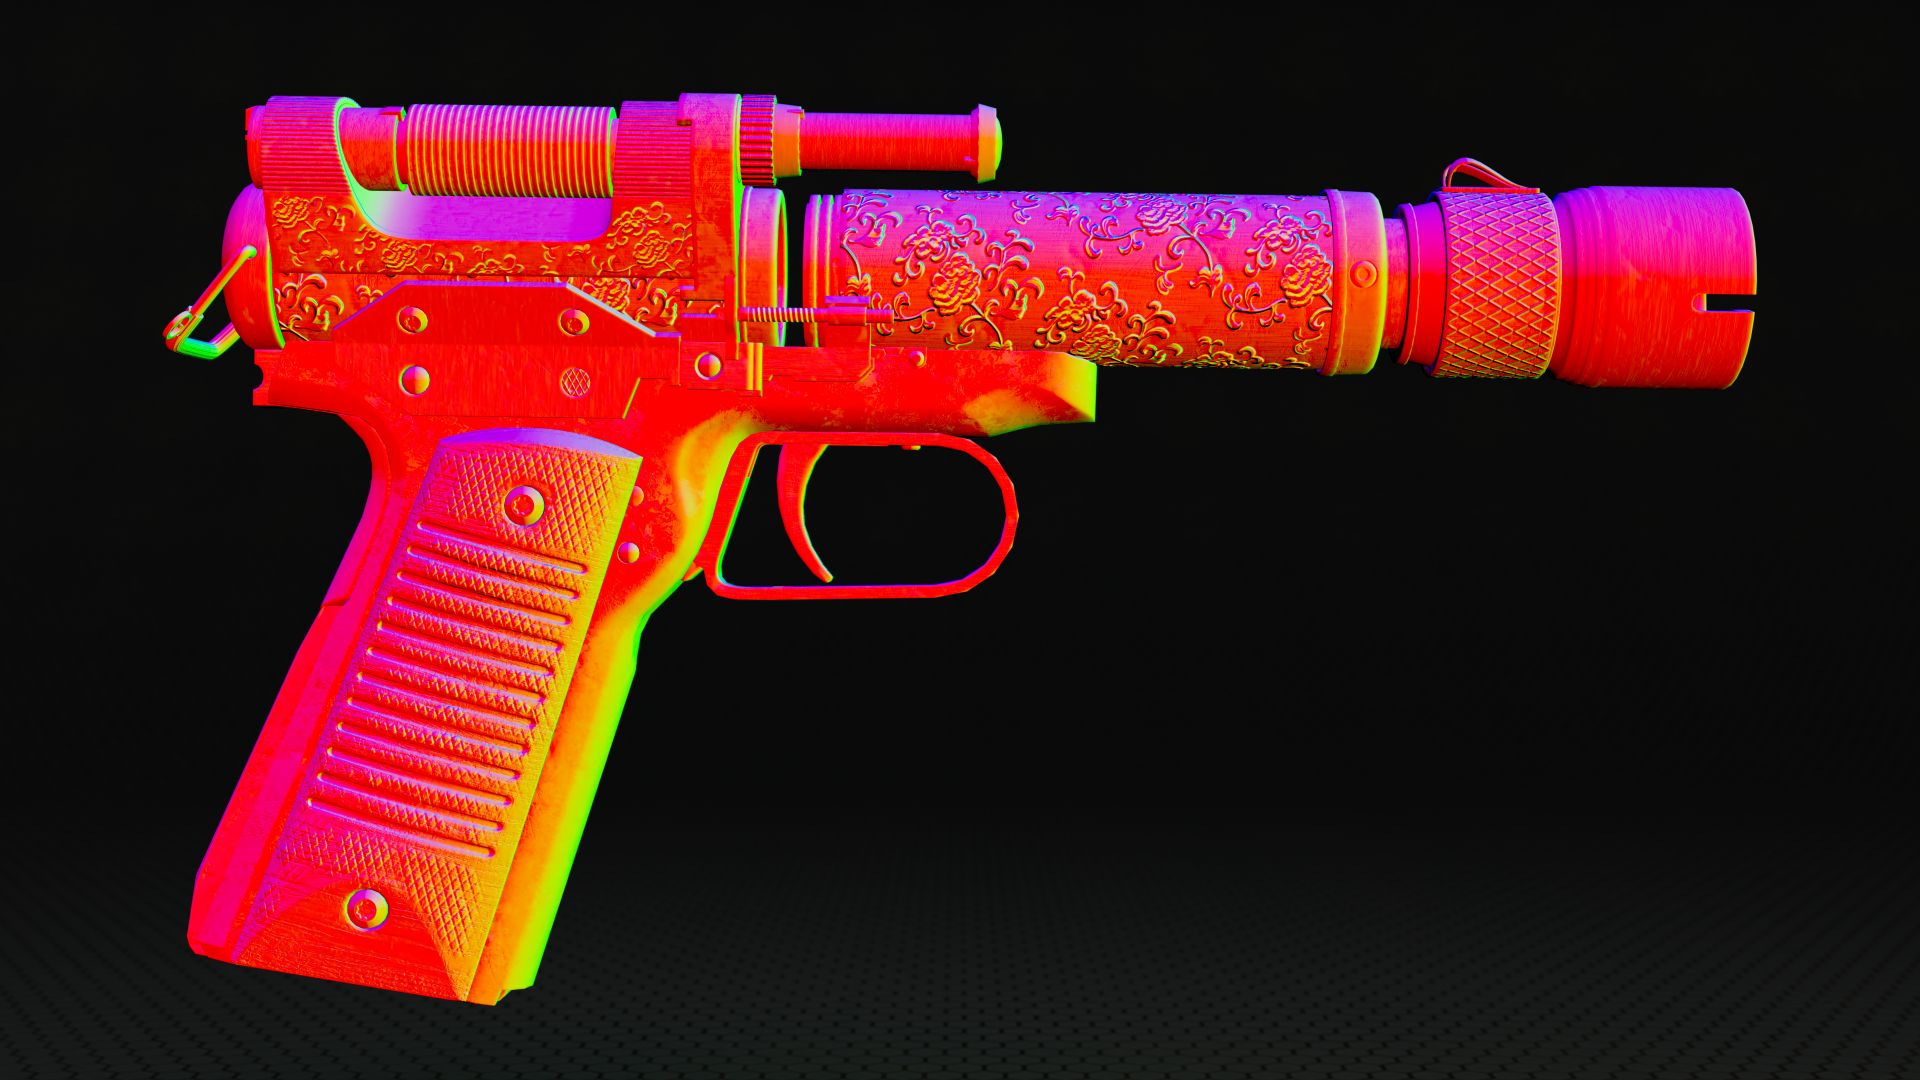
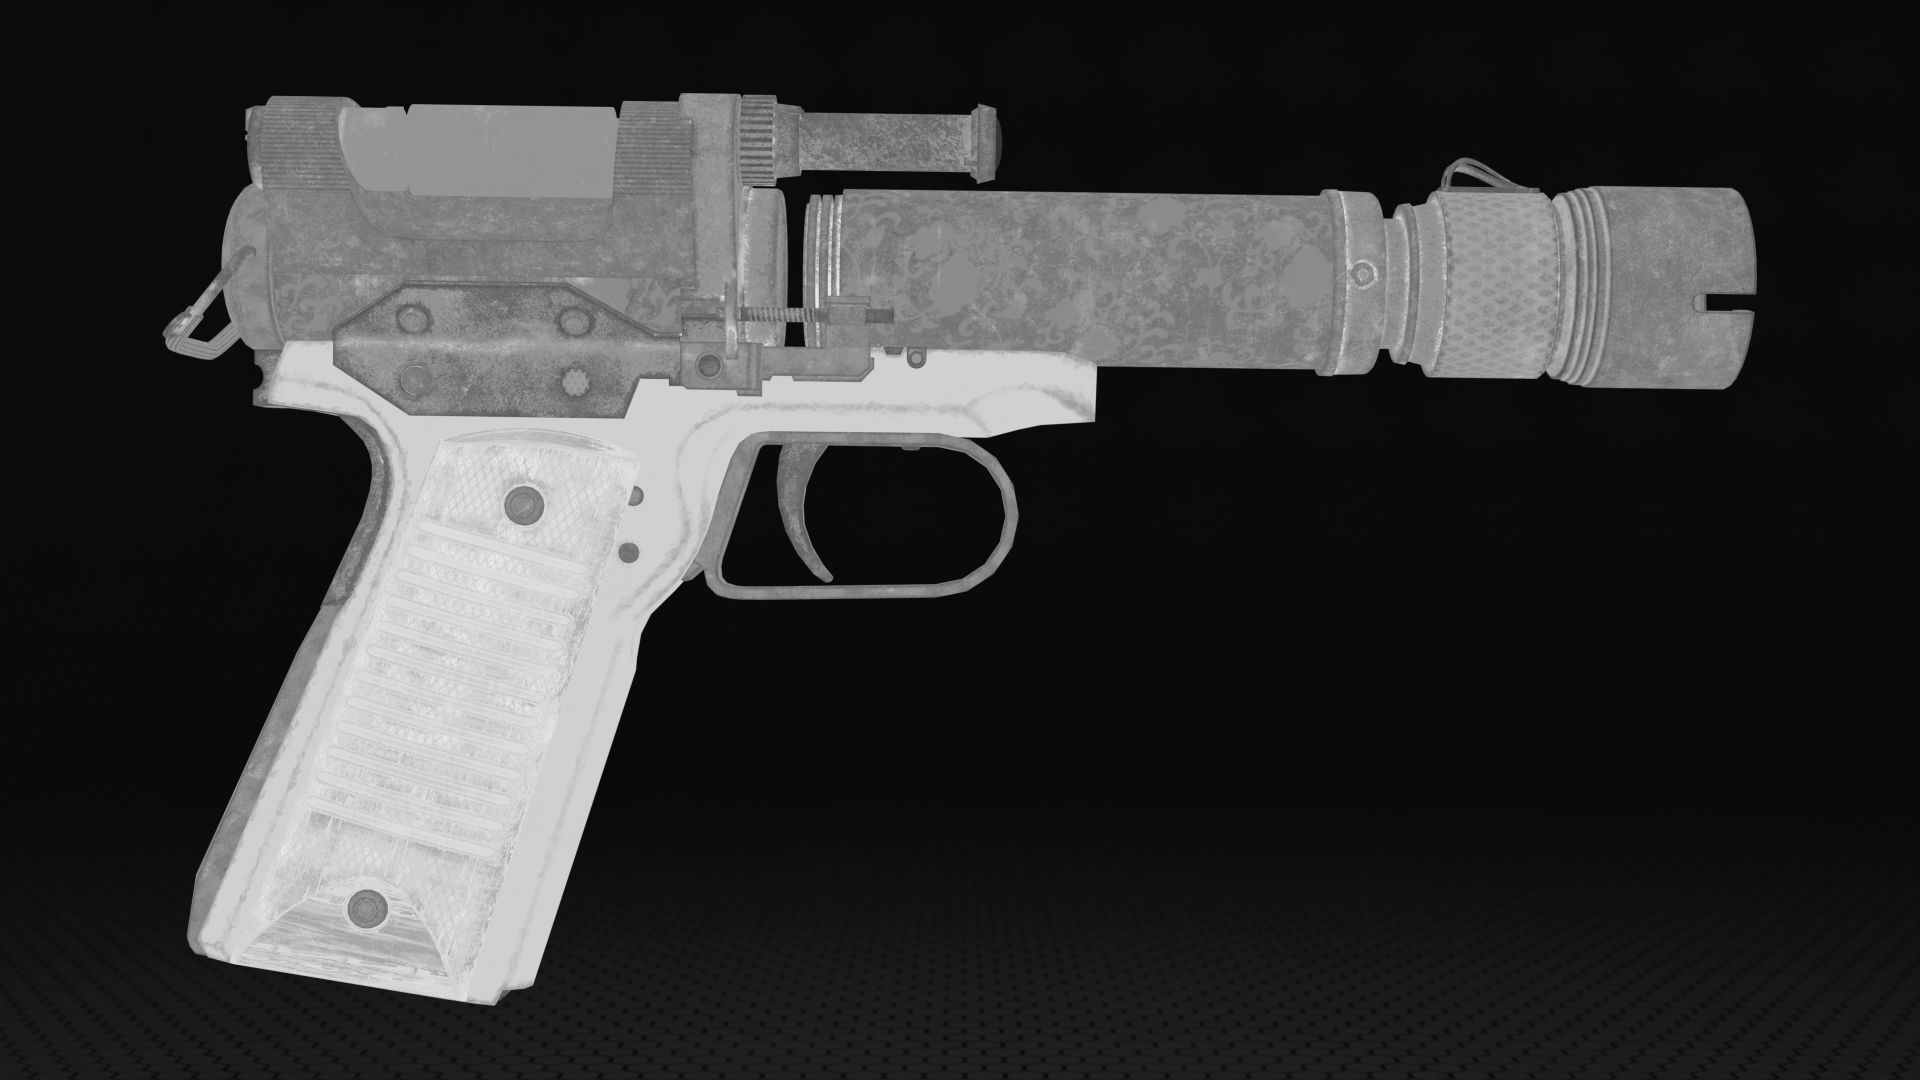
I’ve baked perhaps more maps than strictly necessary, but I did so that I would have more options for masking layers in Substance Painter, since its mask generator tools can use maps such as height, curvature, position, thickness, AO etc for its calculations.
PIT STOP IN ZBRUSH
With the model, UVs and baking done, only one thing was left to do before tackling the materials: the flower decors that would go on the barrel of the gun.
I sought out a floreal décor image and used it as ref to sculpt the decorations on a flat plane in zbrush. Then, I set the material of this object to normal map, so that the normal of the sculpt would be shown, and then I took a high res screenshot of the plane from the front view
Then I edited and cleaned it up in photoshop and composed it into a more organic set that could be tiled and projected onto the normal of the texture map.
MATERIALS AND TEXTURES
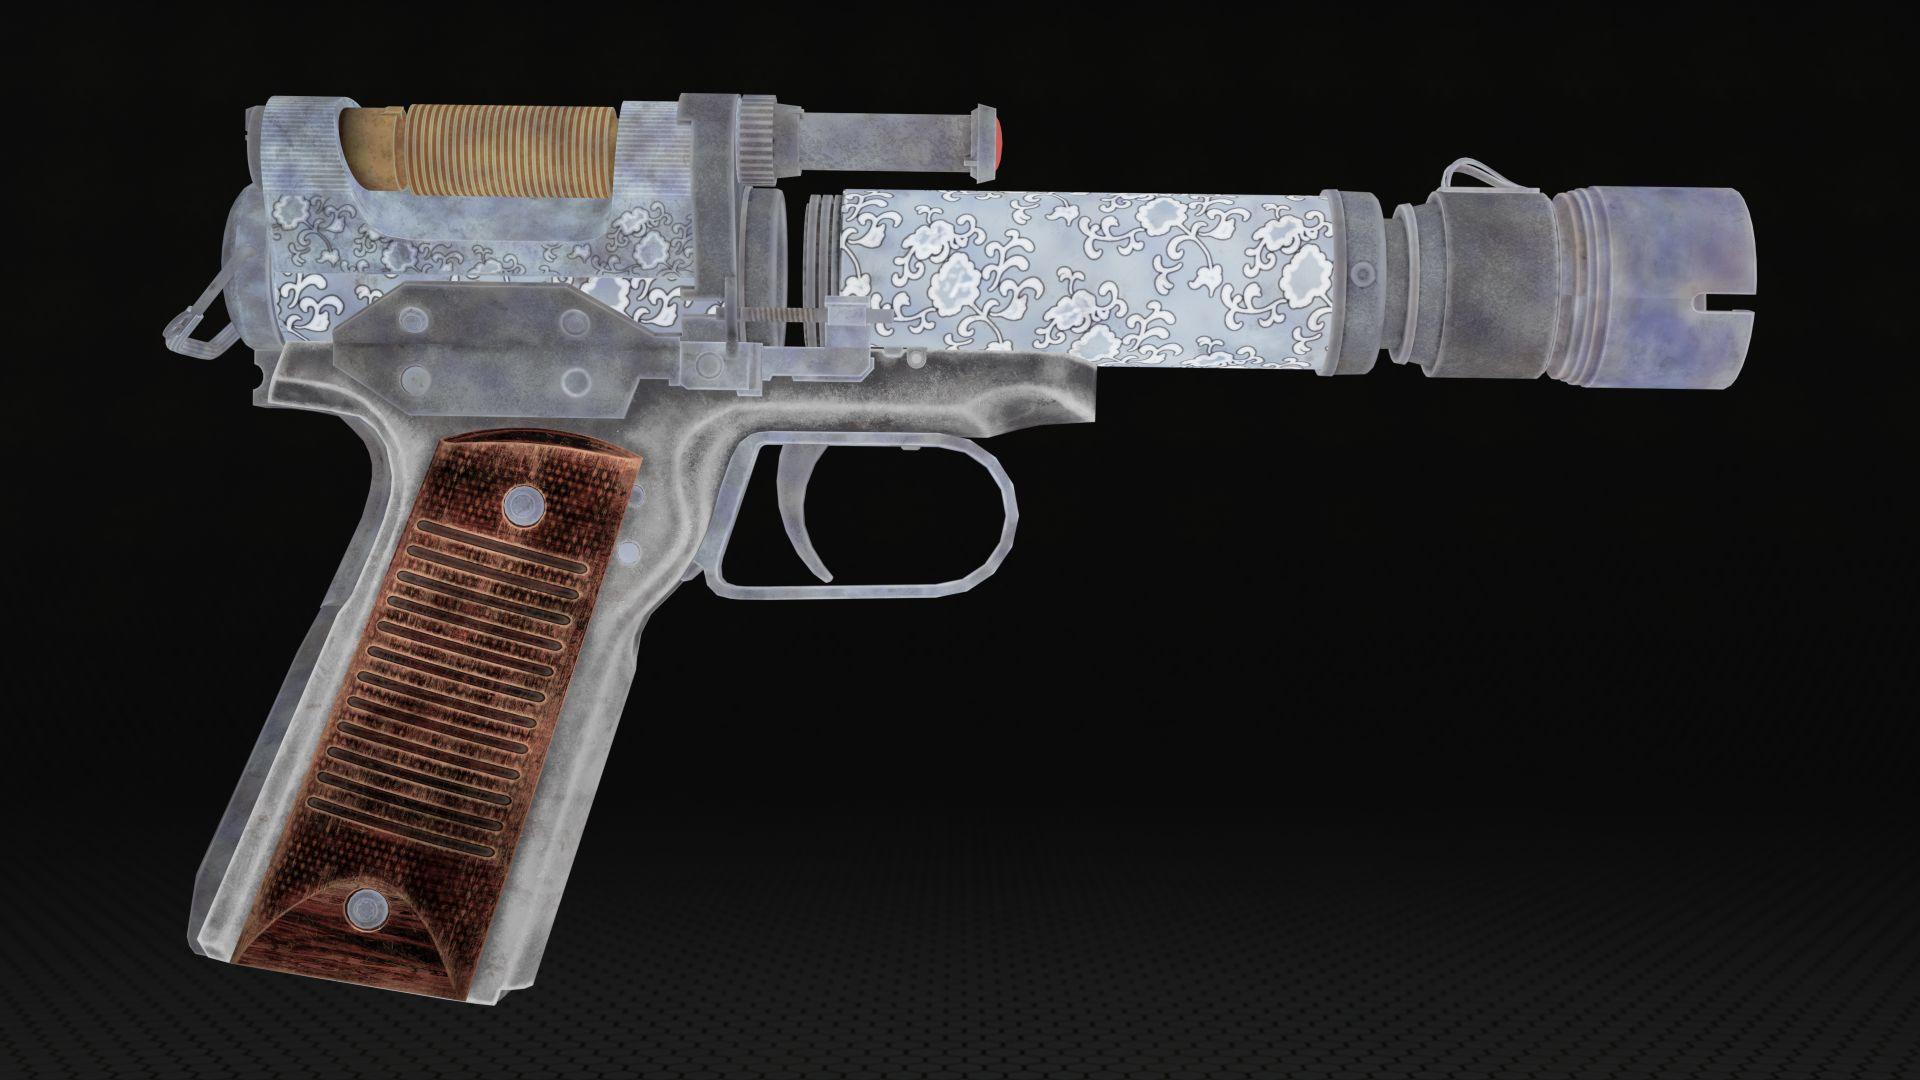
Finally the last step in the production of this challenging but awesome piece of 3D art, I imported the low poly model of the blaster, after I exported it into an FBX containing all of its parts comprised in the 3 groups I mentioned above, and imported the bake maps from Marmoset, and imported the normal map of the decorations. There probably had been some more minor adjustments to this or that, regarding UV and bakes, as things never go entirely smoothly and is easy to miss out on small mistakes.
I’ve also made a quick texturing test with default materials before I’d fix the bake and uv fully, just to have a feeling of how the model would look like all textured, and it did a good impression.
Ultimately, once I was fully sure things were ok, I started on with the actual texturing.
With the model and UVs organized in 3 texture sets, it was also easier to navigate the intricacy of the layers and painting of parts in substance.
The flower décor was projected onto the barrel with a cylindric projection, and with a combination of mask outlines, dirt layers, blur, lighten layers and so on was made to appear as integrated and embossed as possible with the underlying metal.
The cover of the handle I decide to make it an engraved wood, using a combo of directional noise and wood textures to create the veins of the wood, and multiple layers of different colors and different roughness which, masked using anchors and mask generators, would create the impression of a red wood with dark veins that has faded polish, got scratched, dust, and as said, rhomboidal engravings, to give it extra texture and grip, done by using a diamond pattern map and more mask outlines and height control.
Each underlying layer is of lighter colour than the one above, to signify dust depositing, and dried up core of the wood. I’ve also applied some slight gradient overlays to give a more cohesive overall impression to the wooden piece, that would also look less flat.
In regard of the metallic parts, multiple layers of colour variations, scratches, dust and dirt masks, erosion and slight rust, indents (made with a cells noise texture), and brushed metal filter did most of the job. A blue heat signature effect was also given to the mouth of the barrel, as heated shots would go through it.
To note the knurled effects on some of the metallic parts, made either with diamond pattern normal map or obtained from the baking process, to which extra layers of dust deposit and such were also applied to better highlight it.
The metal part of the handle is a more rough and dirty feeling sort of metal, almost oily in a way, given the hand grips there at all time when the gun is used.
To note also that I added some slight fingerprints marks here and there where fingers would perhaps touch and grip, just some added flavour that would be barely seen, but is nice to have, made through the roughness or a slight height channel.
To close on the texturing part, it has been a big deal of fun and challenge as well, I have to look up plenty tutorials and smarter ways to do things, such as with anchor masks and mask outlines, which I used plenty for the erosion of the metal and wood, and the decors and knurled effects.
Overally I’m quite sastisfied with the results of the texturing. Should I have the chance I’d add a few more customized touches to better represent the history and storytelling behind the weapon.
RENDERS & SHOWCASE
This too had it sets of difficulties for me, I had to understand that a good render doesn’t need too many parts or complex set ups, that a simple neutral background and a few good lights can be enough to bring the center piece to life and give it a beautiful look.
After doing some renders in Marmoset I opted to do more in Blender, as I felt I had more control and got a better final looking render, but it could also be that I don’t know Marmoset enough yet to get the most out of it.
CONCLUSIONS
Doing this piece of 3D art was pivotal for me, in my path through this awesome field, it took some good months to complete, every step had its difficulties, it took patience and consistency even with all the other distractions and things I had to tend to, but I look forward the next piece, and that it will bring good fruits.
Hope this breakdown of the process for my interpretation of Kay’s Blaster will help you as much as it helped me hammering through it.
 Blender
 Substance 3D Painter
 Marvelous Designer
 ZBrush